We are a brand new blog, and we are working hard to bring you new, high quality posts. More to come soon. Thanks for your patience!
La Malinche is an inactive volcano located near Puebla Mexico, and it is a great objective for those looking to explore a different and often unseen side of Mexico high above the typical tourist track. This mountain has a lot to offer those who venture onto its slopes. Here, peaceful alpine forests, steep rocky trails, and incredible views of snow-capped peaks belonging to the highest mountains in Mexico are all rolled into one challenging and rewarding hike.
We climbed La Malinche (along with Nevado de Toluca) to help prepare us for a successful ascent of Pico de Orizaba. Whether you have your sights set on Malinche for acclimatisation purposes or simply because it’s an excellent adventure in itself, there are many reasons why we recommend this hike. Of the larger mountains in Mexico, La Malinche is one of the most accessible. The trailhead can be easily reached by public transportation, there are some great accommodation options nearby, and the hike itself is relatively straightforward and a lot of fun. As the sixth highest peak in the country, La Malinche is of course not to be underestimated. However, if you are an experienced hiker and are properly prepared, there is nothing stopping you from taking on the challenge! This guide offers personal knowledge and tips gained from our own successful summit of La Malinche with the hopes that we can help others achieve their goal of standing atop this beautiful mountain.
12.07km
4,461m
1,278m
Easy to moderate scramble
6-9 Hours
None
La Malinche is a tough hike, and we saw a lot of others struggling and turning around before reaching the top. This is probably due more to the altitude rather than the difficulty of the trail itself. The best way to prevent this from happening is to properly acclimatize! Take enough time, take care of your body, and know the signs of altitude sickness. We recommend this trail for those with previous hiking experience since there is a bit of scrambling and some more exposed areas near the summit. Remember that the high elevation also means variable and sometimes extreme weather, so pack accordingly! Always remember that you can reassess and turn around at any time.
La Malinche is easy to access by car, and the latter portion of the drive is quite scenic as it takes you up a windy, forested road under the imposing shadow of the volcano. From Mexico City, allow for about 3 hours to reach the trailhead. Of course, this is highly dependent on traffic which can get notoriously congested and chaotic in and around the city. If you are based in Puebla, which is a great spot if you are planning to hike some of the other volcanoes in the area (and is in our opinion an underrated destination in its own right), allow for about 1.5 hour of driving to reach the trailhead. Thankfully, unlike some of the other hikes in the area, the road is much less gnarly and is actually paved the entire way. There is quite a bit of parking space at the trailhead itself, otherwise parking within the gates of the Resort IMSS Malintzi could also be an option. We have heard there may be a small fee for using either of these parking areas.
As usual, we decided to use public transportation during our trip since it was by far the most affordable option. Though it takes longer, getting to La Malinche without a car is pretty straightforward and we would recommend it as opposed to spending the extra money on a rental car or private driver if you have the time.
The city of Puebla is a logical starting point since it is the closest major centre to La Malinche. If you are coming all the way from Mexico City instead, add on an extra 2.5 hours for the bus to Puebla. We preferred to base ourselves out of Puebla since it was also the launching point of our expedition to Pico de Orizaba, plus we really enjoyed our time exploring its charming colonial streets.
In Puebla, the first step is to get to the CAPU bus station. There are many different city buses as well as the metro that can connect you from other locations in the city to CAPU. From there, ATAH bus line offers direct buses to Apizaco for around 122 pesos per person, and the ride takes around 1 hour. ATAH Ordinary is the budget option, costing around 70 pesos per person but without the luxuries of air conditioning and luggage storage, and with a lot more stops in between.
Apizaco has both local markets and a large grocery store called Soriana, so there are a lot of options if you need to stock up on supplies for your hike. There are also a few food options near the Malinche trailhead, but these are limited.
Apizaco is a small yet bustling town, and most tourists just pass through here on their way to La Malinche. The bus will drop you off conveniently near the centre of town, where you have a few different options for getting to La Malinche. The first option is to catch a collectivo from here. Note that there are a ton of different collectivos lining this street so it may take some time and some confusion before you find the right one. The correct van should have a sign reading “Malinz” on the front, and they depart from this location at 8:30am, 12:39pm, and 4:30pm. Obviously, if you plan to hike La Malinche the same day it is highly advisable to try and catch the first one. The collectivo takes around 30 mins and it will drop you off about a 1 minute walk from the trailhead! For the return trip, the collectivos depart from the same spot they drop you off at around 9am, 1:00pm, and 5:00pm. If you are returning to town the same day of your hike, don’t be later than 5:00 unless you want to try your luck with hitchhiking.
Another option is to take a taxi or an Uber from Apizaco. We recommend Uber since you can see and agree on a price beforehand. This is the option that we chose on the way there, and it was a very reasonable 250 pesos split between 3 people for the 30 min ride all the way to the trailhead.
In summary, let us offer a bit of a disclaimer: although Malinche looks very close to Puebla on the map, getting there by public transportation takes longer than it appears. Allow for at least an hour to get from CAPU to Apizaco, plus another half hour to get to the trailhead, not including wait times. Combined with the limited number of collectivos heading to Malinche, we think that it is a good idea to spend at least one night staying close to the trailhead either before or after your hike. See our accommodation recommendations below.
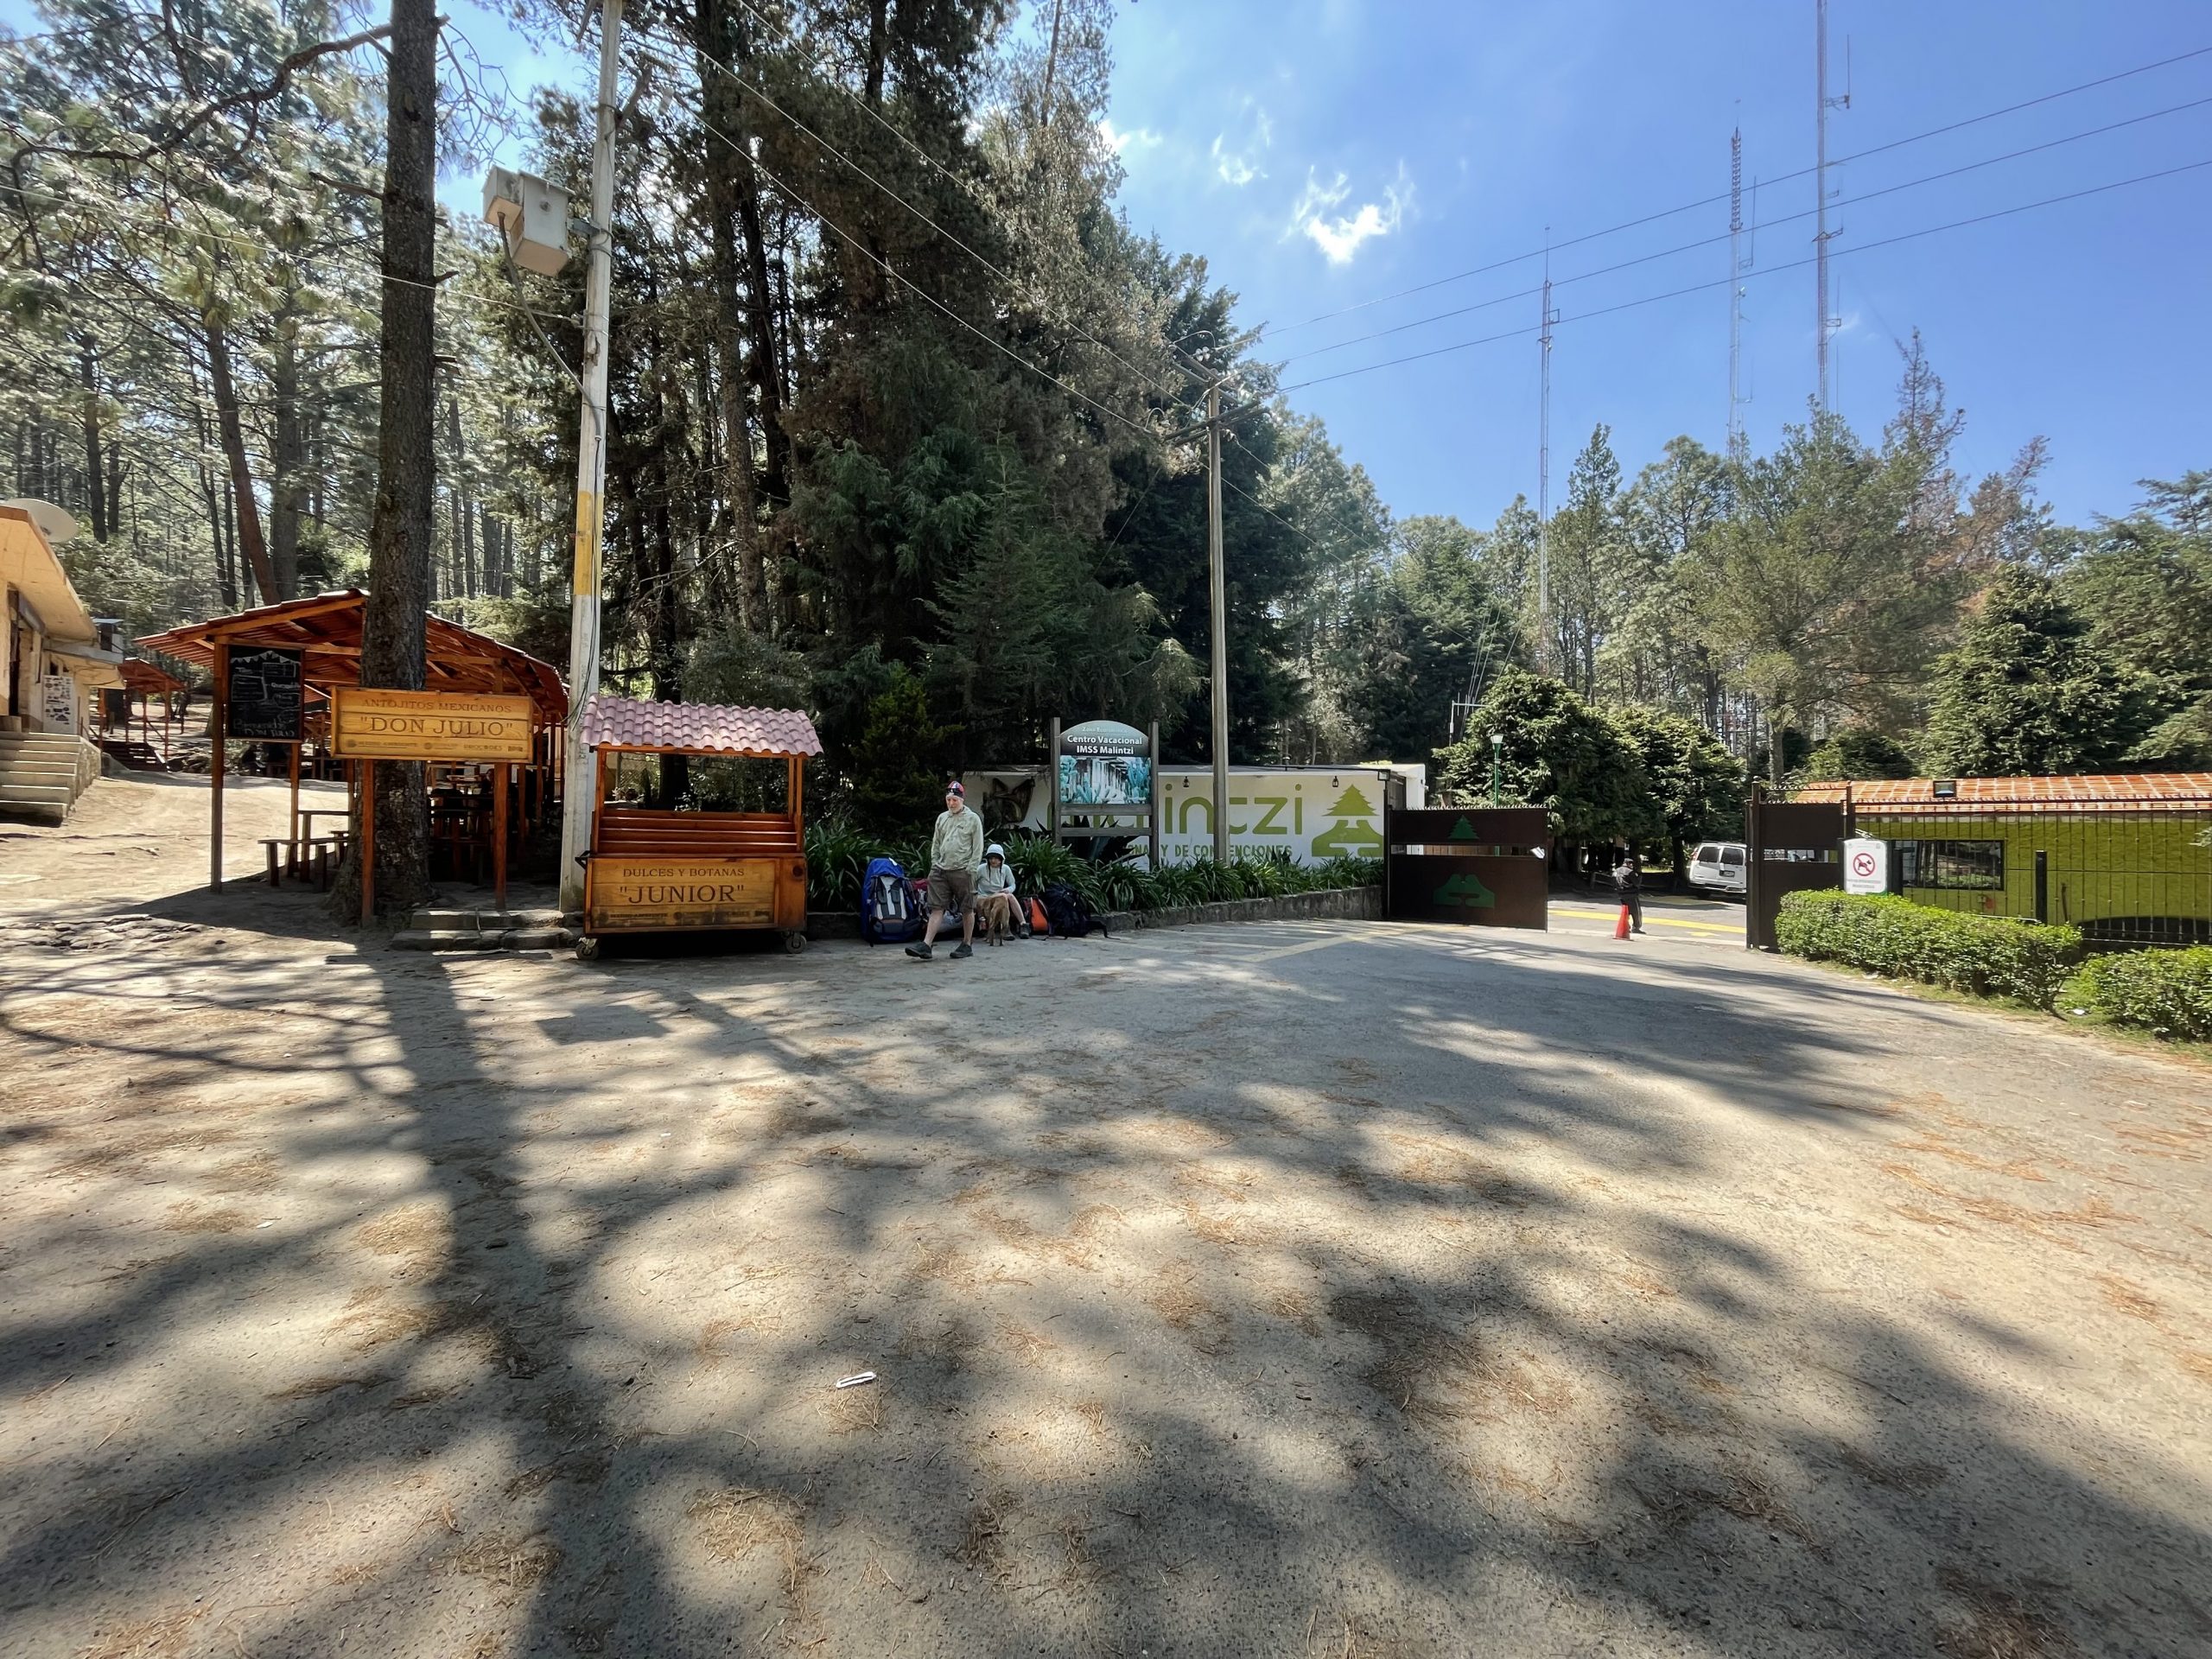
The trailhead that eventually takes you to the summit of La Malinche begins at the gate to the national park, which is well marked. Depending on what time you arrive there are guards stationed here, and we have heard that they charge an entrance fee of 120 pesos per person, especially on weekends and holidays. However, when we went on a weekday morning in February 2025, nobody was around to charge us and we just walked in. It is important to note that the gates are closed before 7am and after 7pm, so keep your hike confined to between these hours.
The trail starts off in the forest and crisscrosses a dirt road for the first few kms. You could walk on the road itself, but the trail is of course more scenic. Enjoy the shade and moderate slopes of this section, as it only gets steeper and hotter from here! After around the 3.3km mark, the last section of forest gets quite a bit steeper and you have to watch your footing here if there’s been a lot of rain and mud.
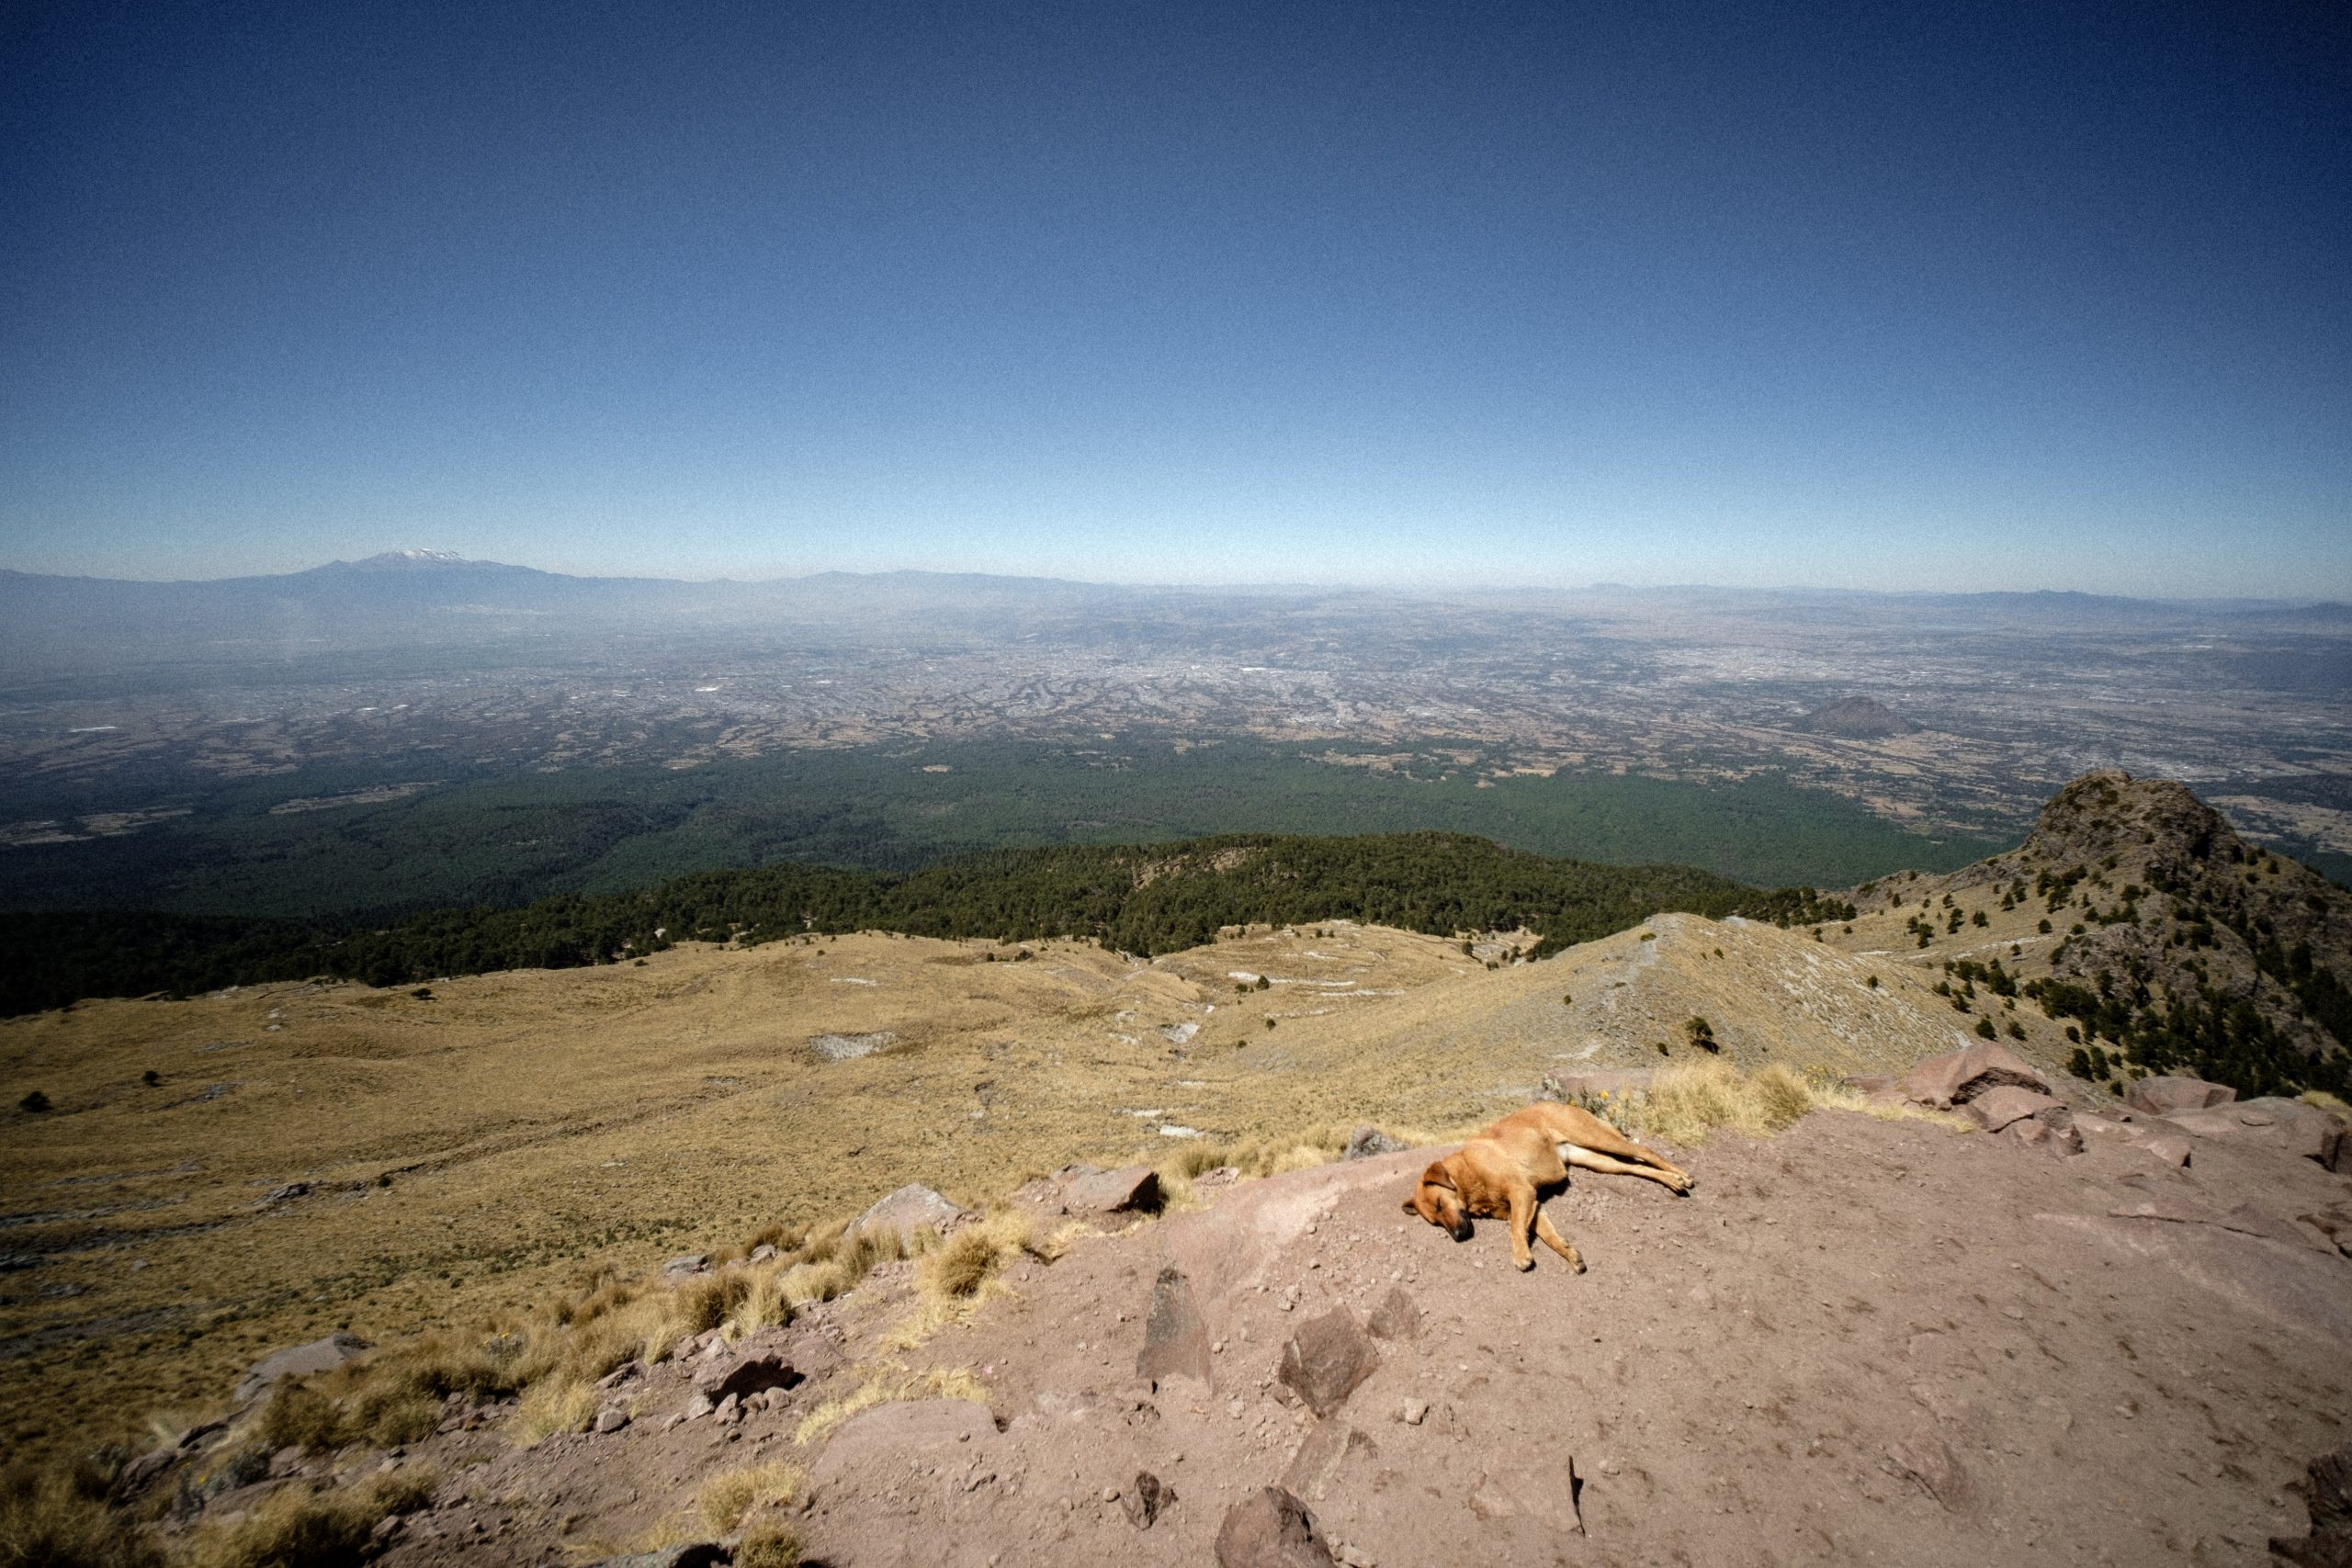
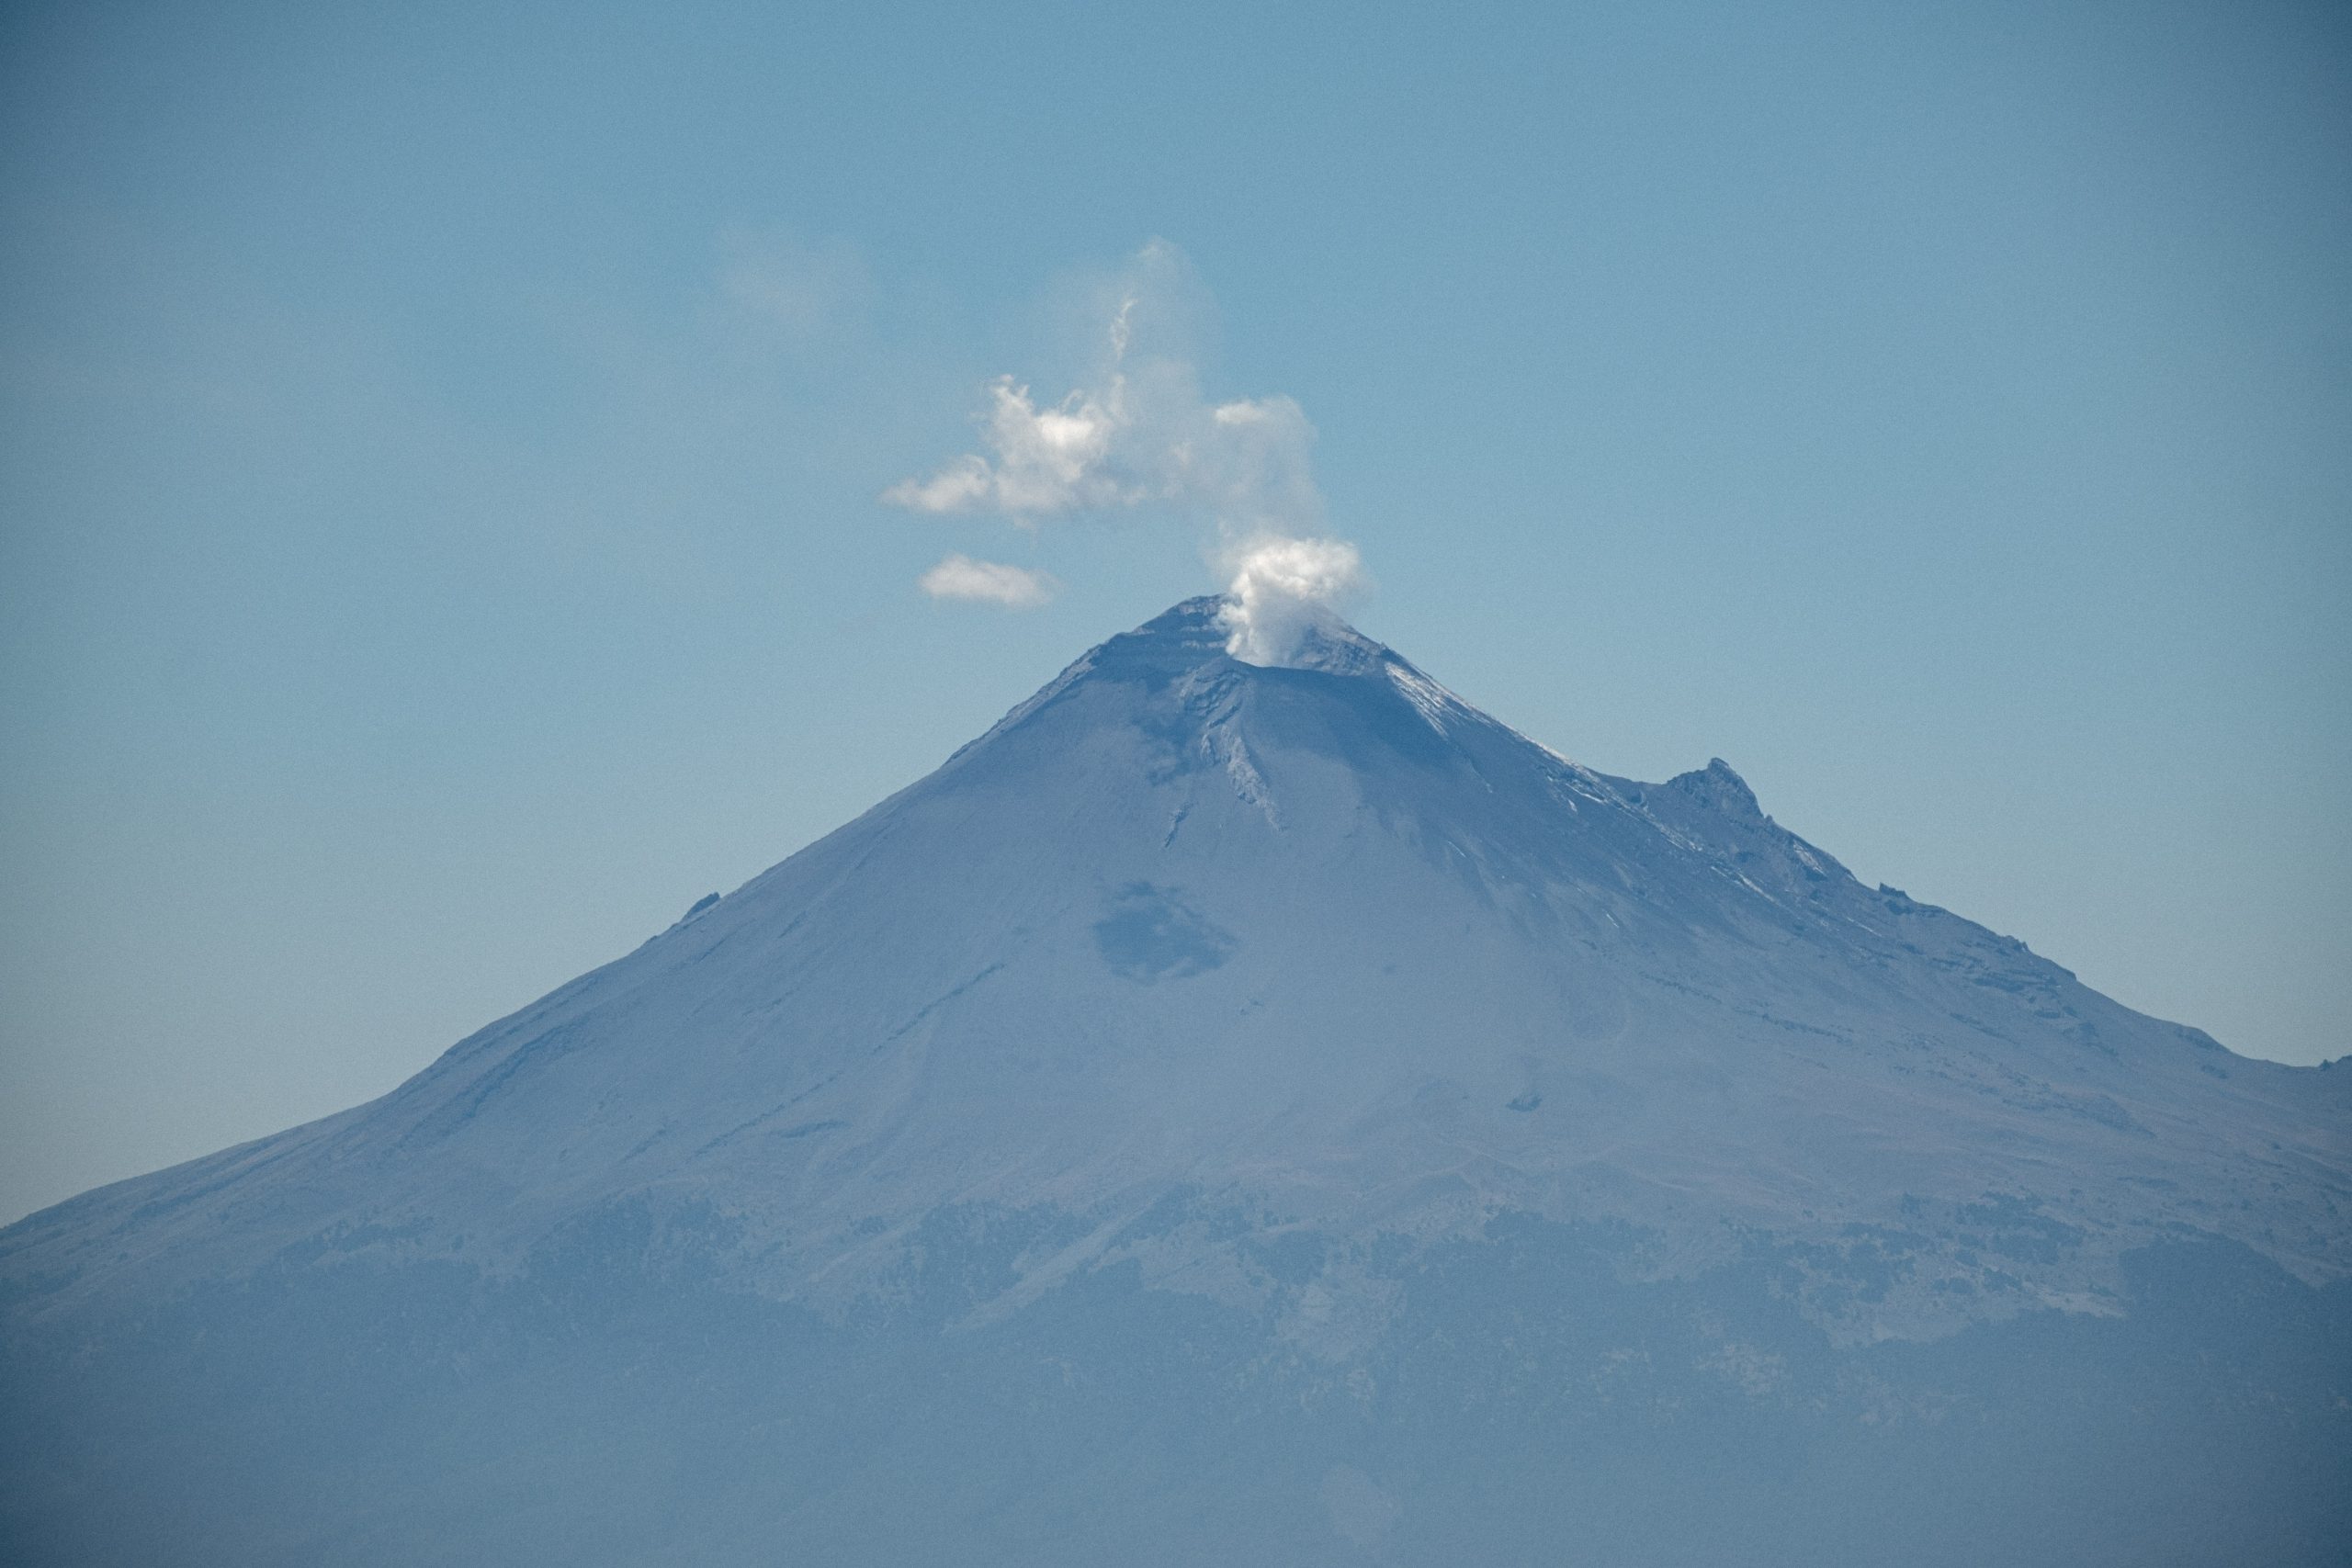
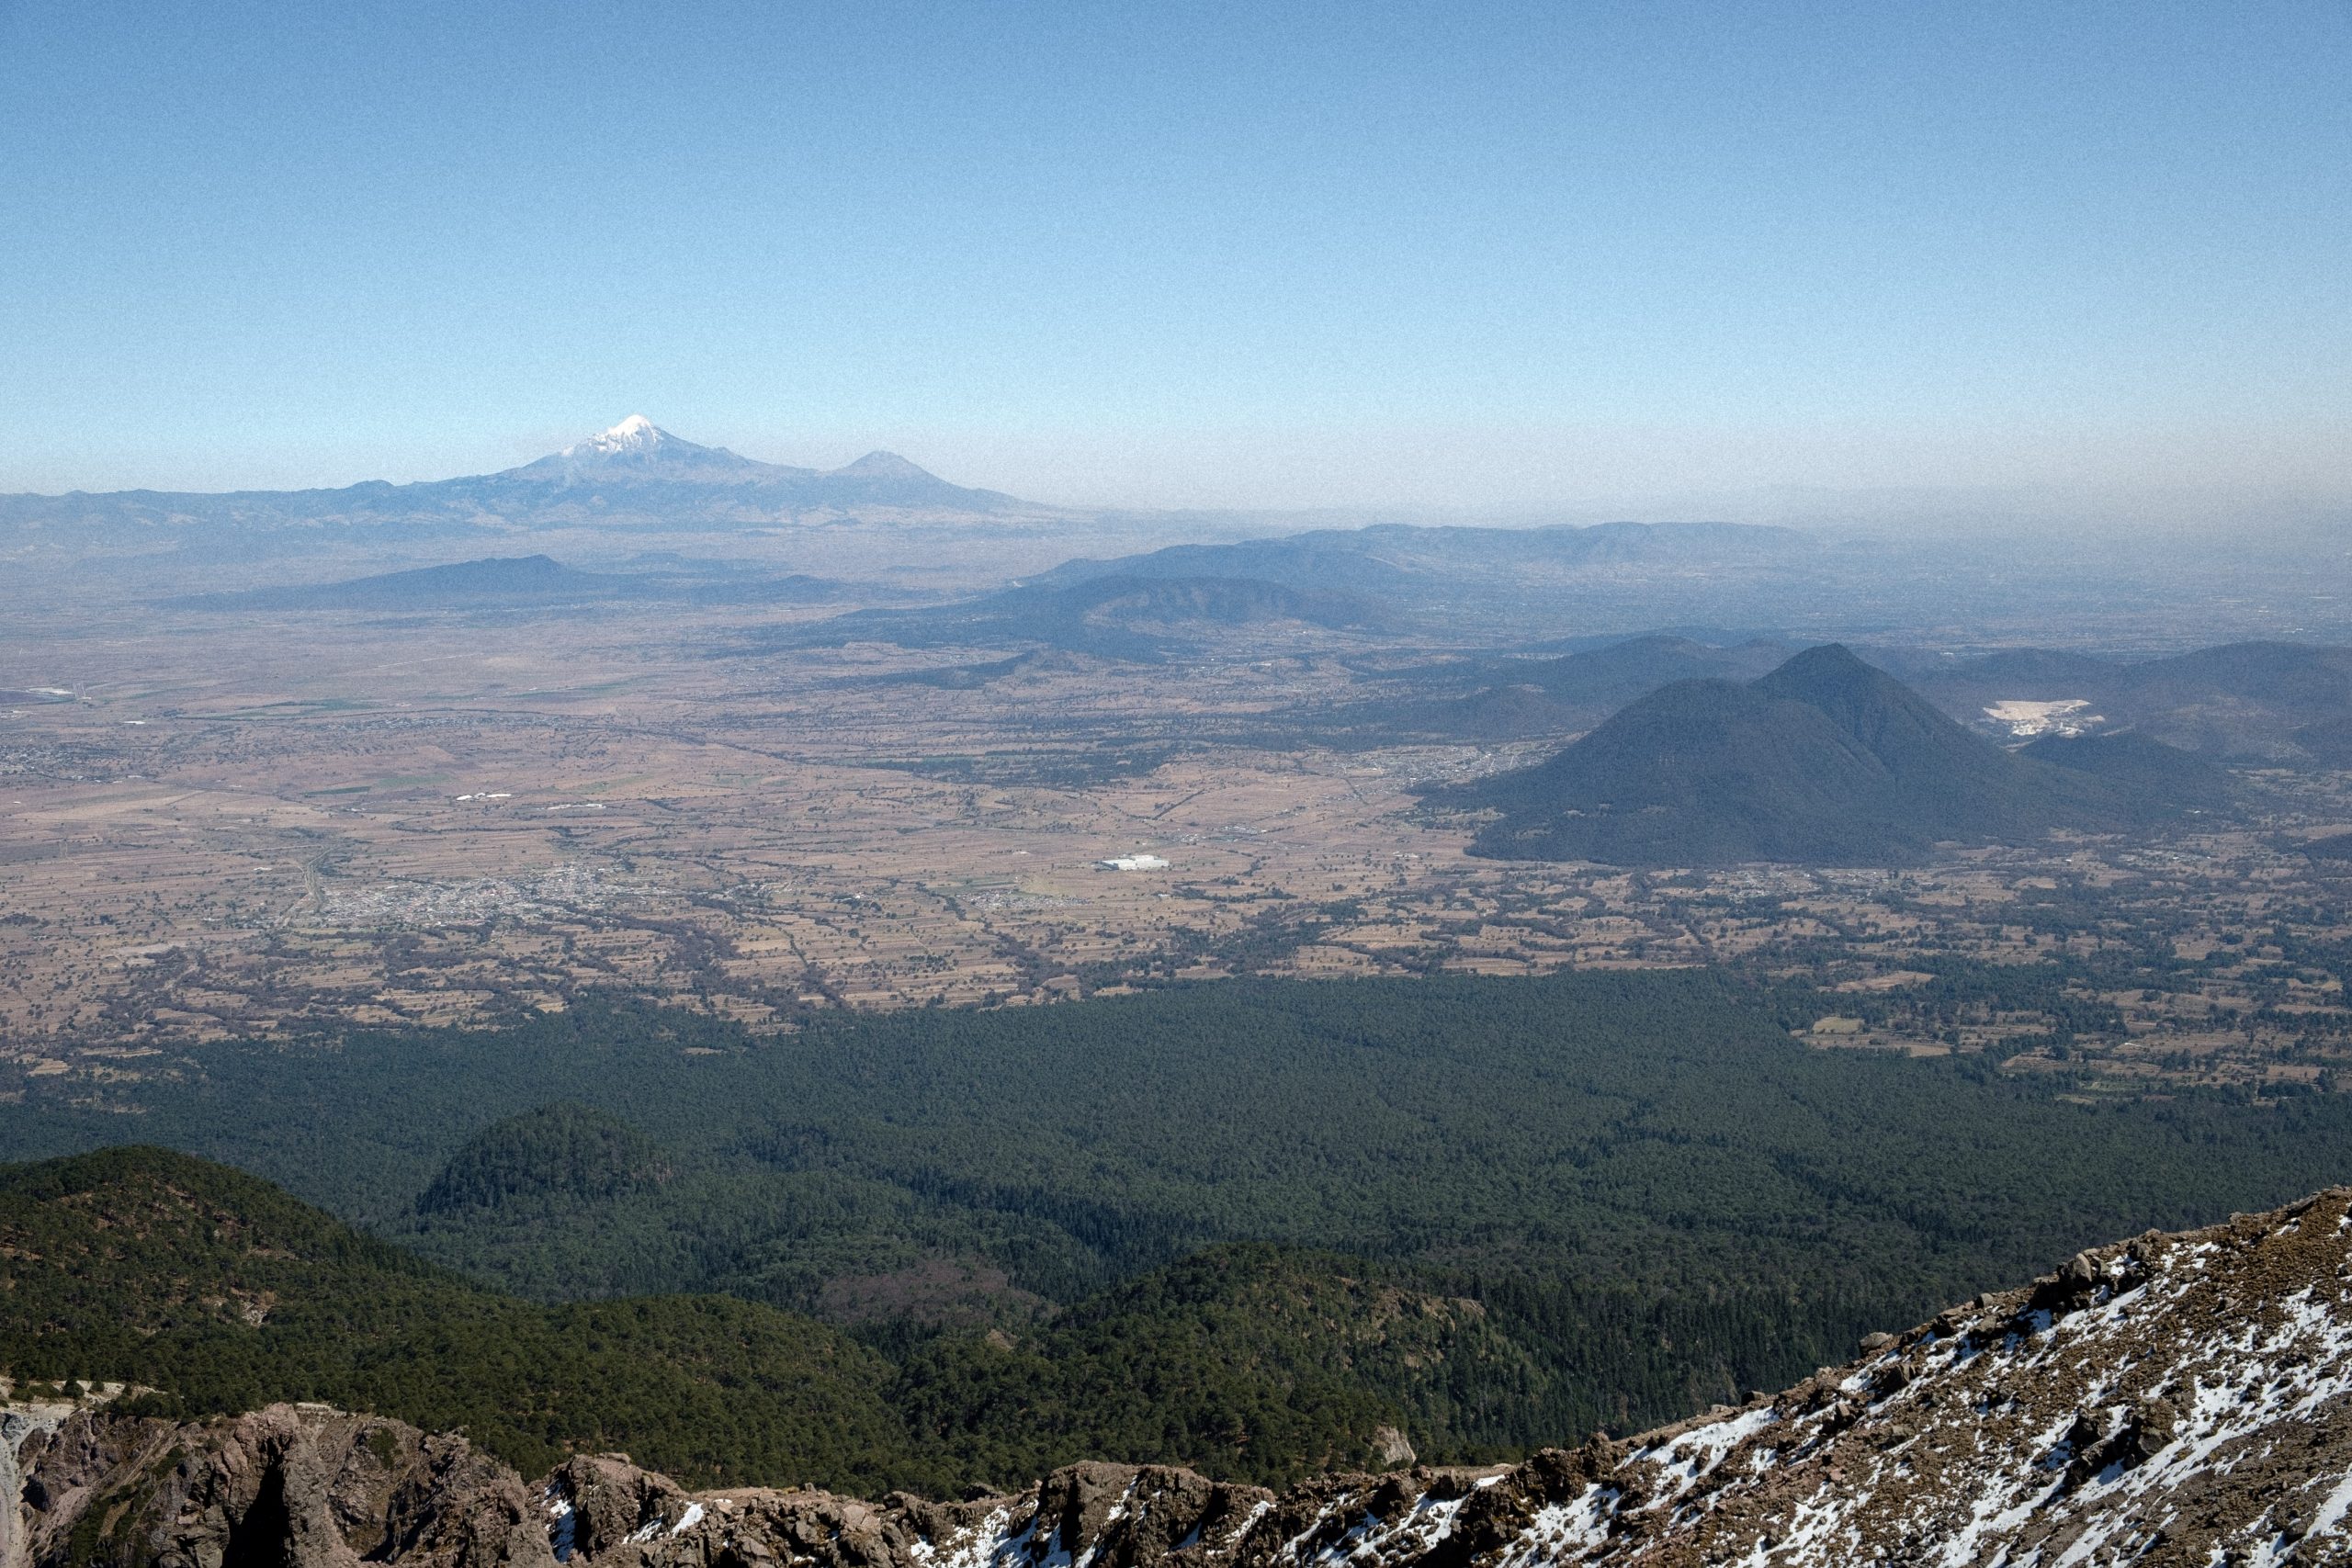
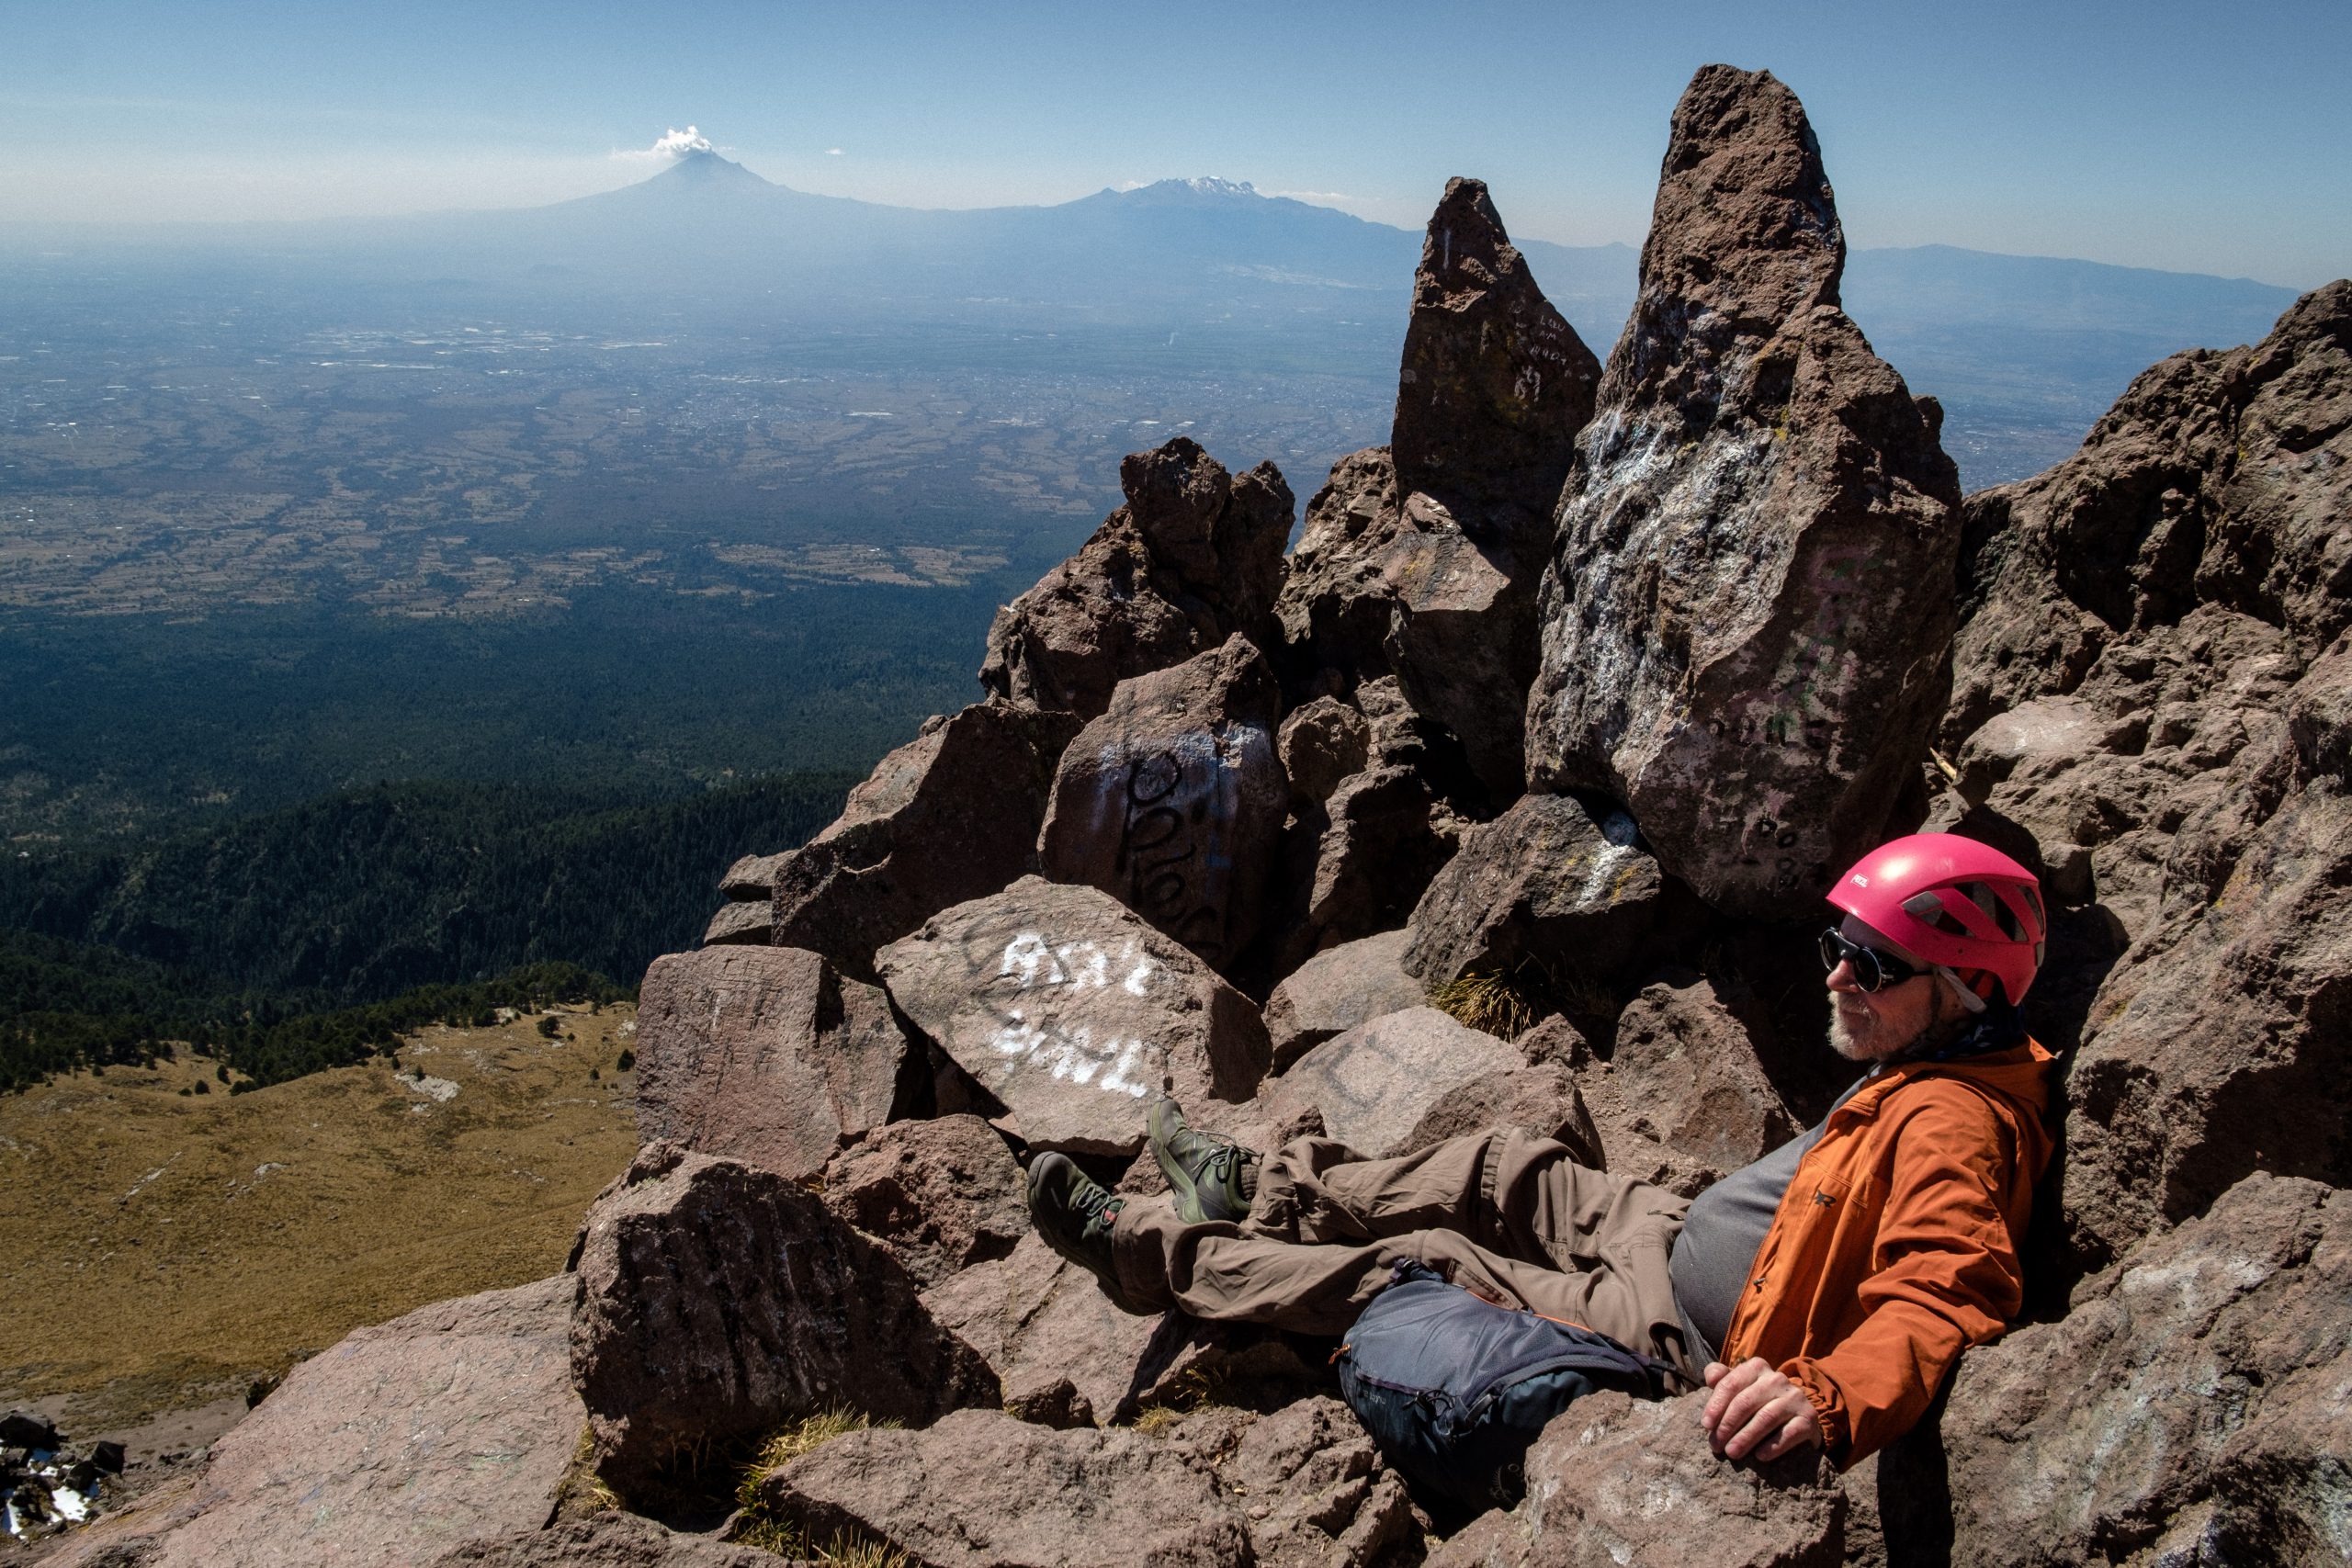
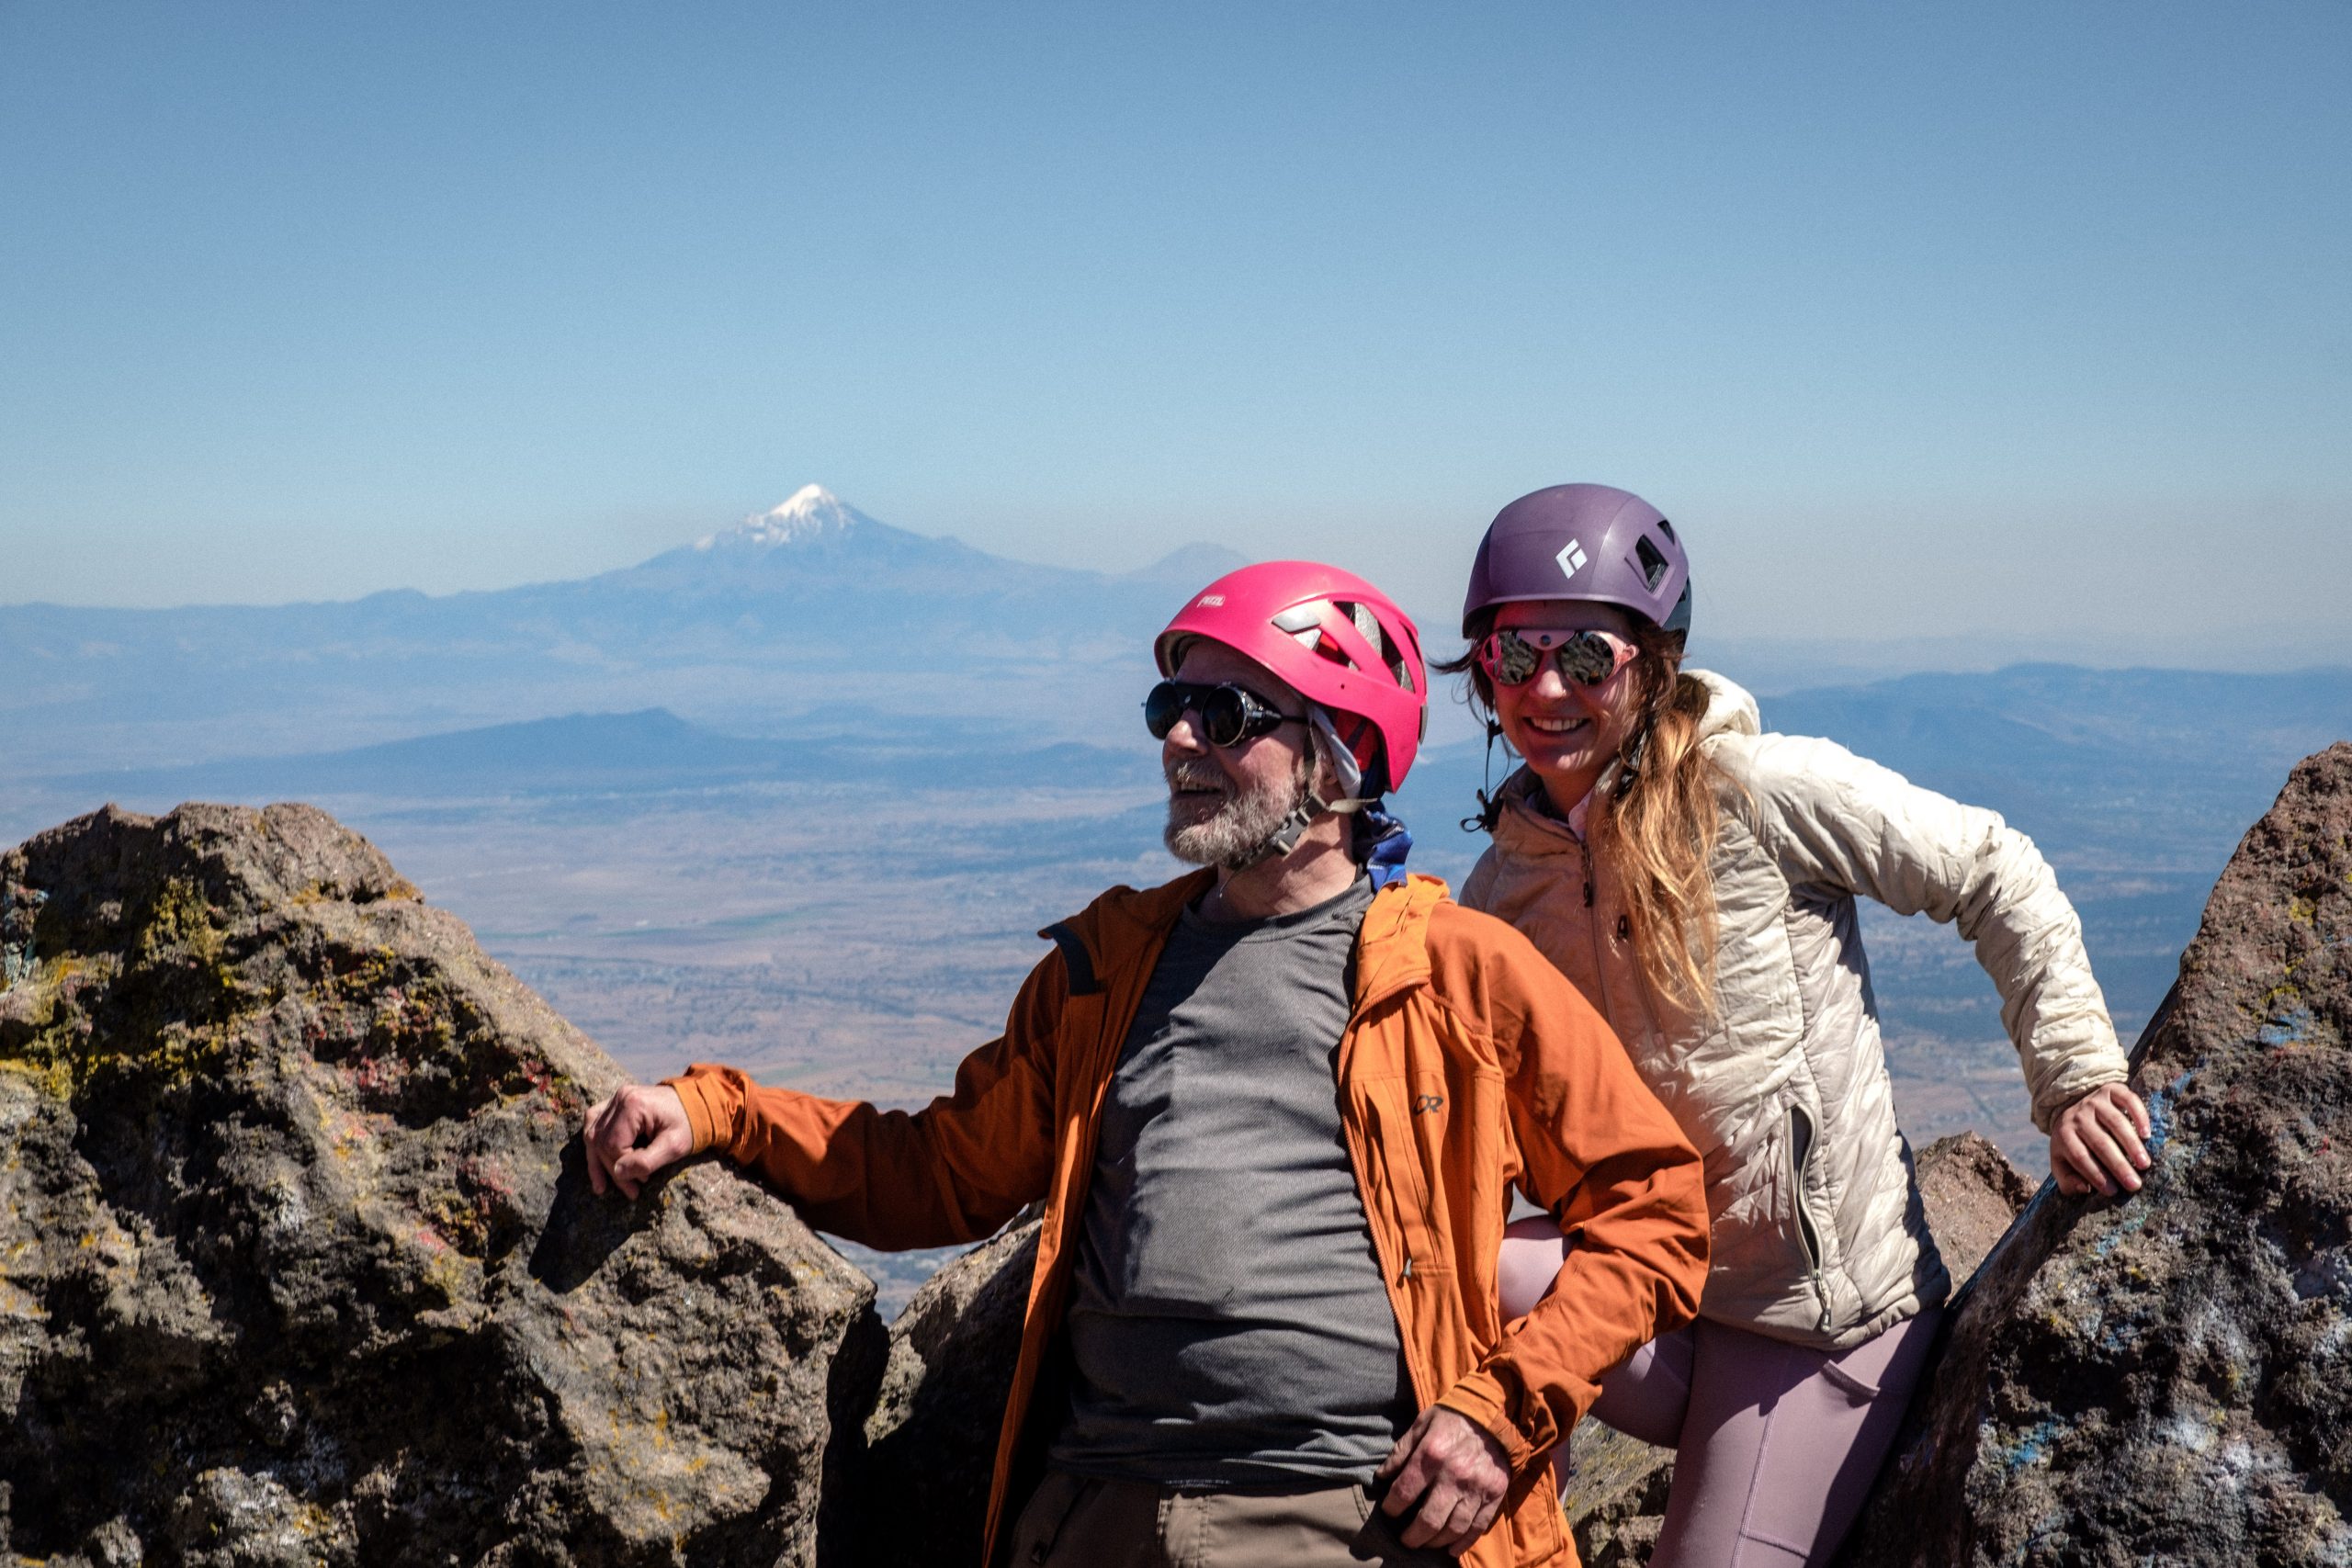
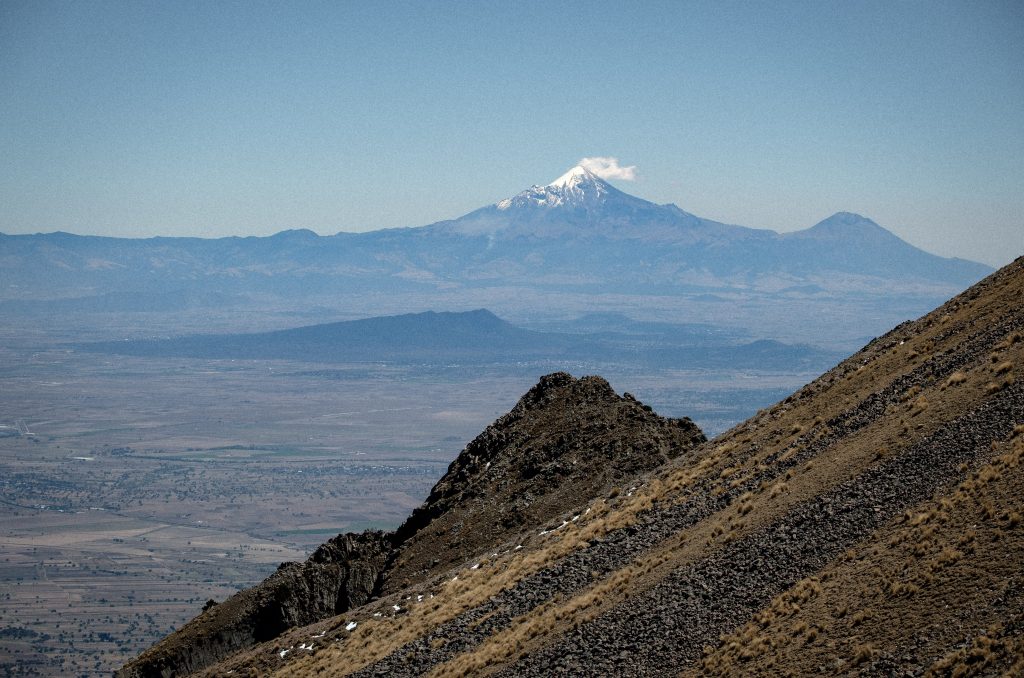
After about 5.3 km you rise out of the forest and reach a bit of a plateau where the trail evens out. When we were there, this is apparently where all the stray dogs hang out. Shortly after this, you’ll reach a spot where the trail splits in two and gets a lot steeper and more difficult. It is best to follow the direction shown in the signage posted on the trail and ascend towards climbers right. This trail is more solid, while the left hand trail has much more volcanic sand and scree that will force you to take one step forward and two steps back. As you continue up this part of the trail, the views start to get really spectacular. To your right, you will be able to see Mexico’s highest mountain, the perpetually snowcapped Pico de Orizaba. This was our first view of Orizaba, and we were set to climb it only a few days after La Malinche. Its steep slopes looked incredibly daunting, and seeing it from afar definitely incited both excitement and a healthy dose of fear. On the left, Iztaccíhuatl and Popocatépetl are visible. If you are lucky, the active Popocatépetl will be letting out puffs of smoke.
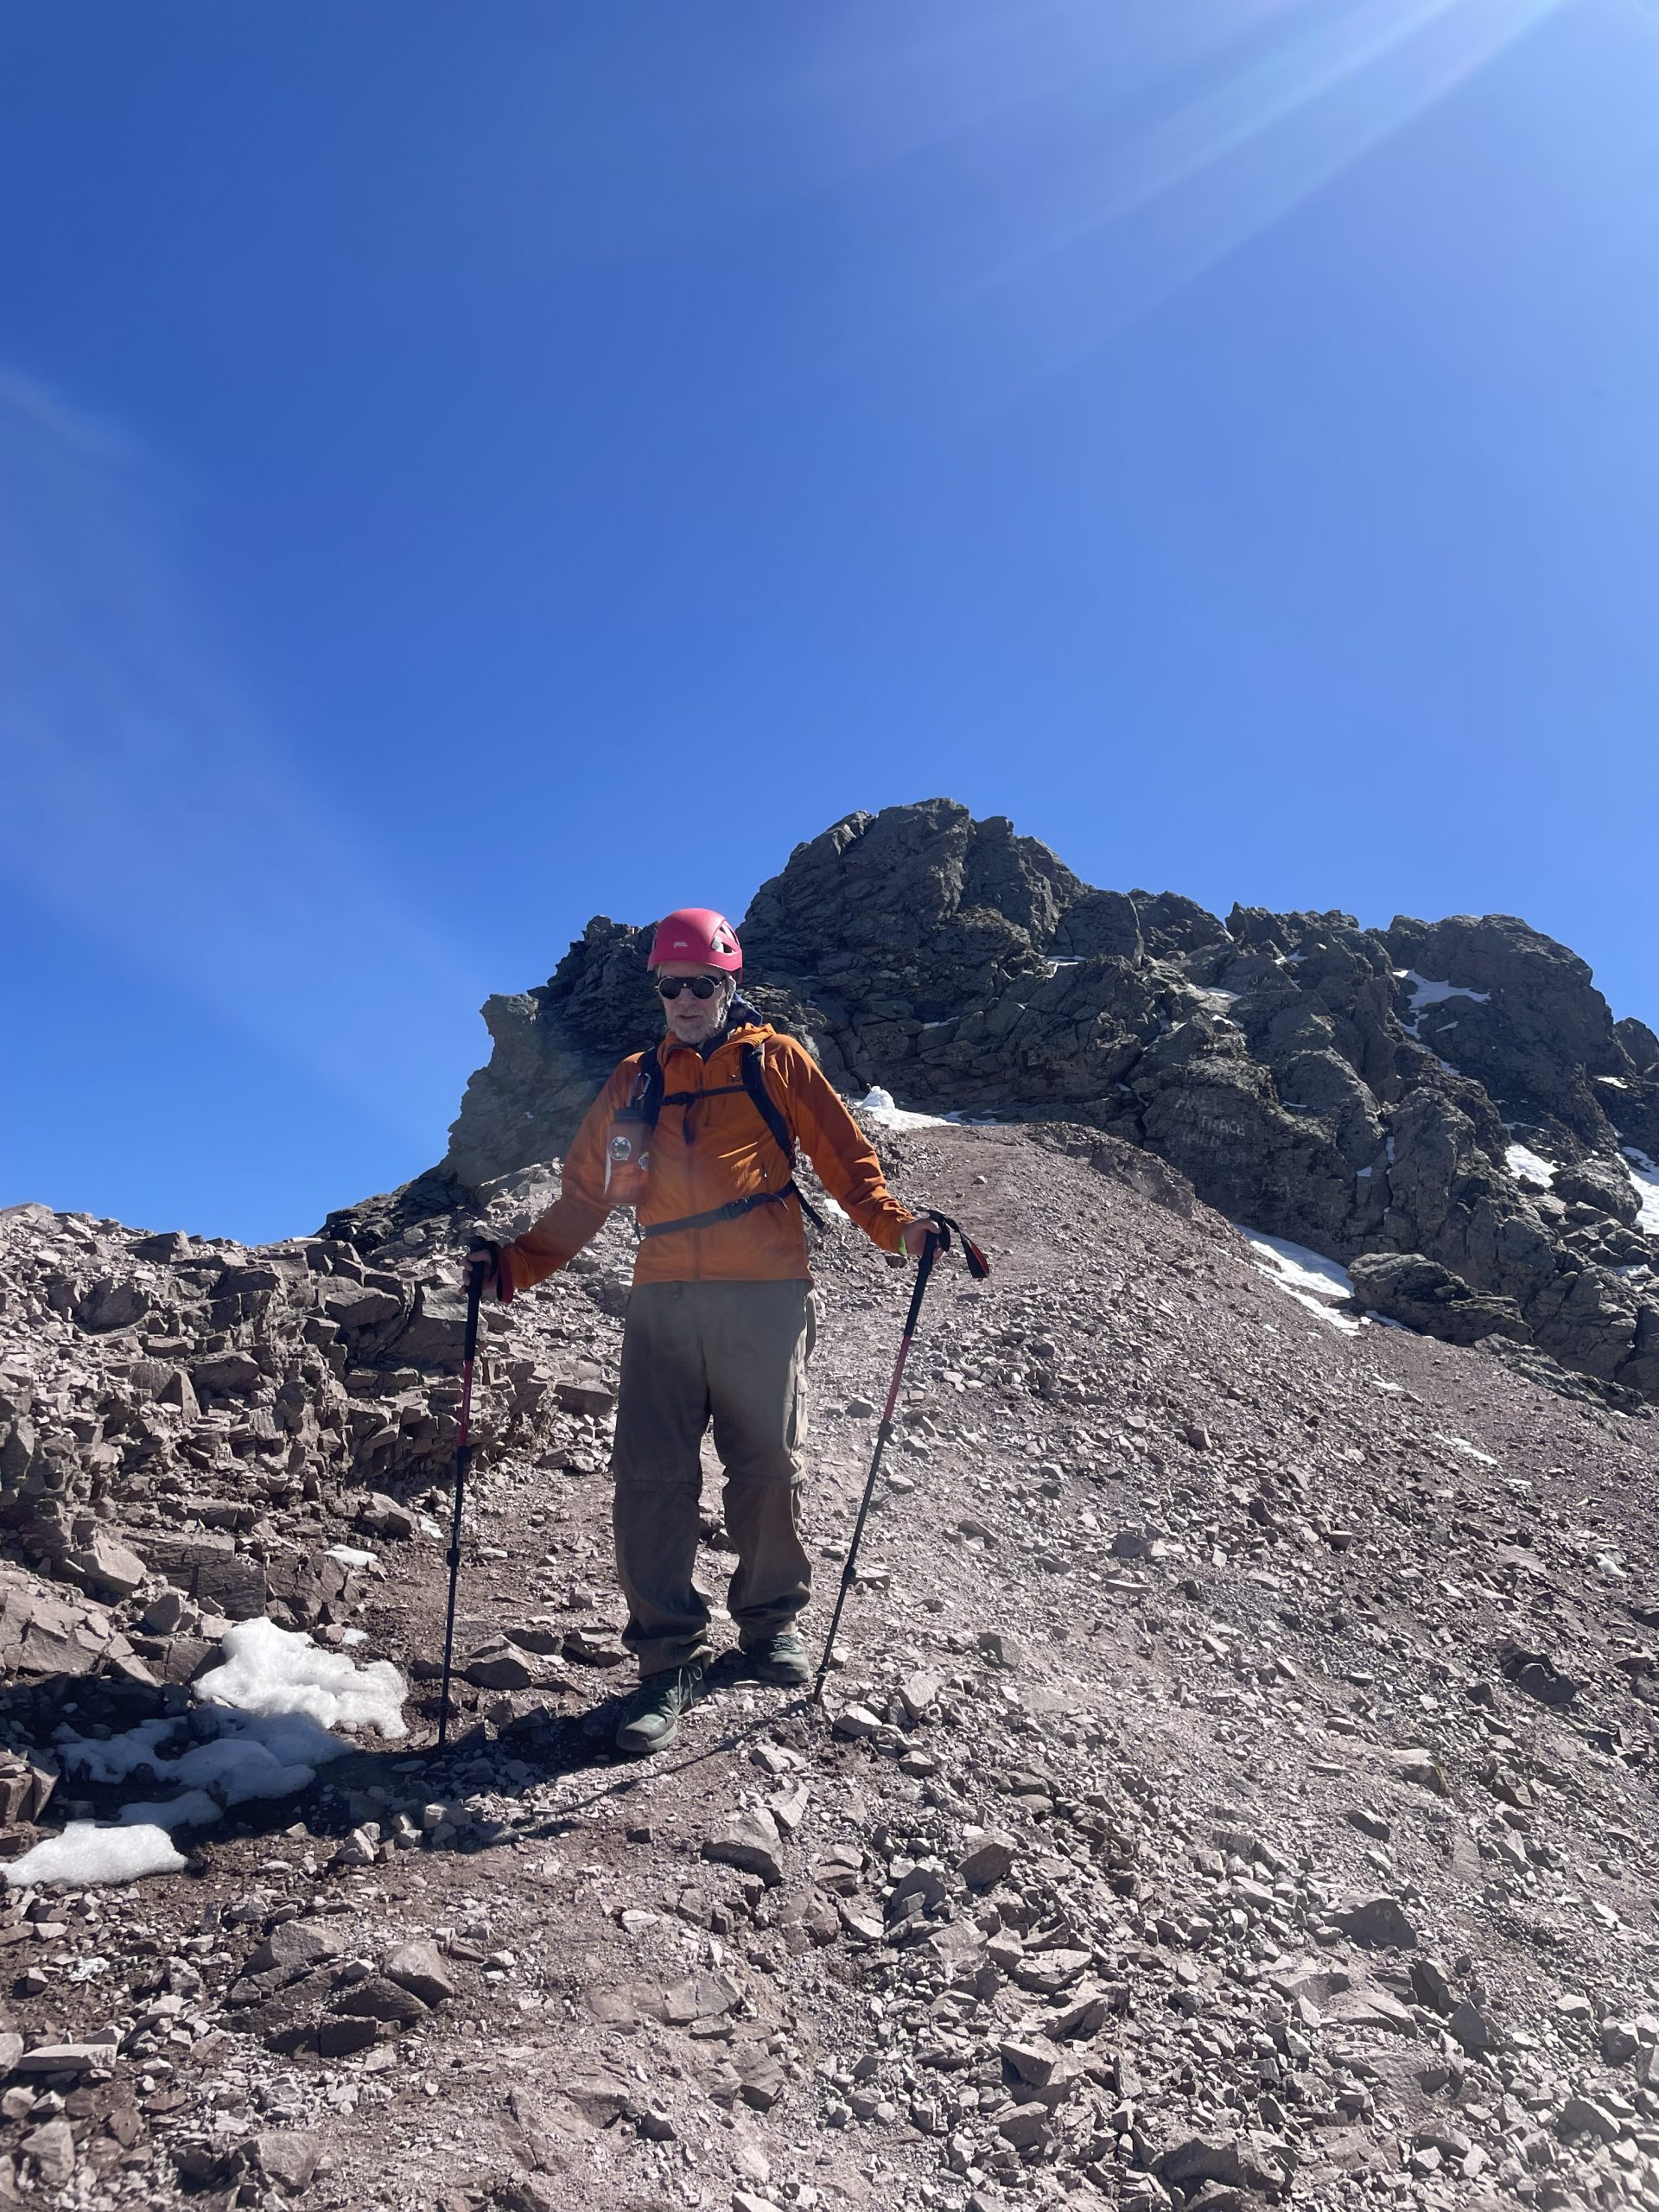
At about the 6.3km mark, the trail starts to get a bit more exposed and you get into the scrambling section of the hike. Lots of people, us included, choose to wear a helmet for this section of trail. This is especially important on busy days when there are a lot of groups above you that could potentially send rocks flying your way. The majority of scrambling on this route can be considered class 2. The crux of this hike occurs right before the summit, where you have to use your hands to scramble up a block. This part could be considered class 3 but only requires a couple moves, and after you overcome it you’ll be rewarded with the summit!
The peak offers amazing 360 degree views and lots of little perches where you can comfortably relax and catch your breath. When you’re ready to descend, just head back the way you came. The only difference on the return trip is that it is best to descend on the opposite trail you came up on, and stick to the skiers right after the split. This allows for a bit of scree skiing and a fun and rapid descent.
We spent just enough time at the summit to enjoy the views, have a few snacks, and snap some photos. We could certainly feel the altitude from here, so we didn’t stick around too long.
In our opinion, it’s worth it to stay somewhere close to the trailhead to help with both acclimatisation and logistics. Since climbing La Malinche is a full day affair, combining it with a long travel day is not recommended. Staying in Apizaco is a possibility, and there are an array of hotels catering to different budgets there. However, there isn’t much to see in town so from what we can tell this doesn’t offer any benefit compared to staying closer to the mountain. Staying near the trailhead or on the trail itself the night before you plan to summit gives your body a chance to adjust to a higher altitude, and definitely improves your chances of successfully climbing La Malinche the next day without feeling any negative effects. We opted to spend two nights camping near the trailhead, one night before our hike and one night after. We were really glad we did this since it gave us time to relax a bit and actually enjoy the area, plus we wanted to spend as much time at altitude as possible before attempting Pico de Orizaba. If you have the luxury of time, we would definitely recommend staying two nights.
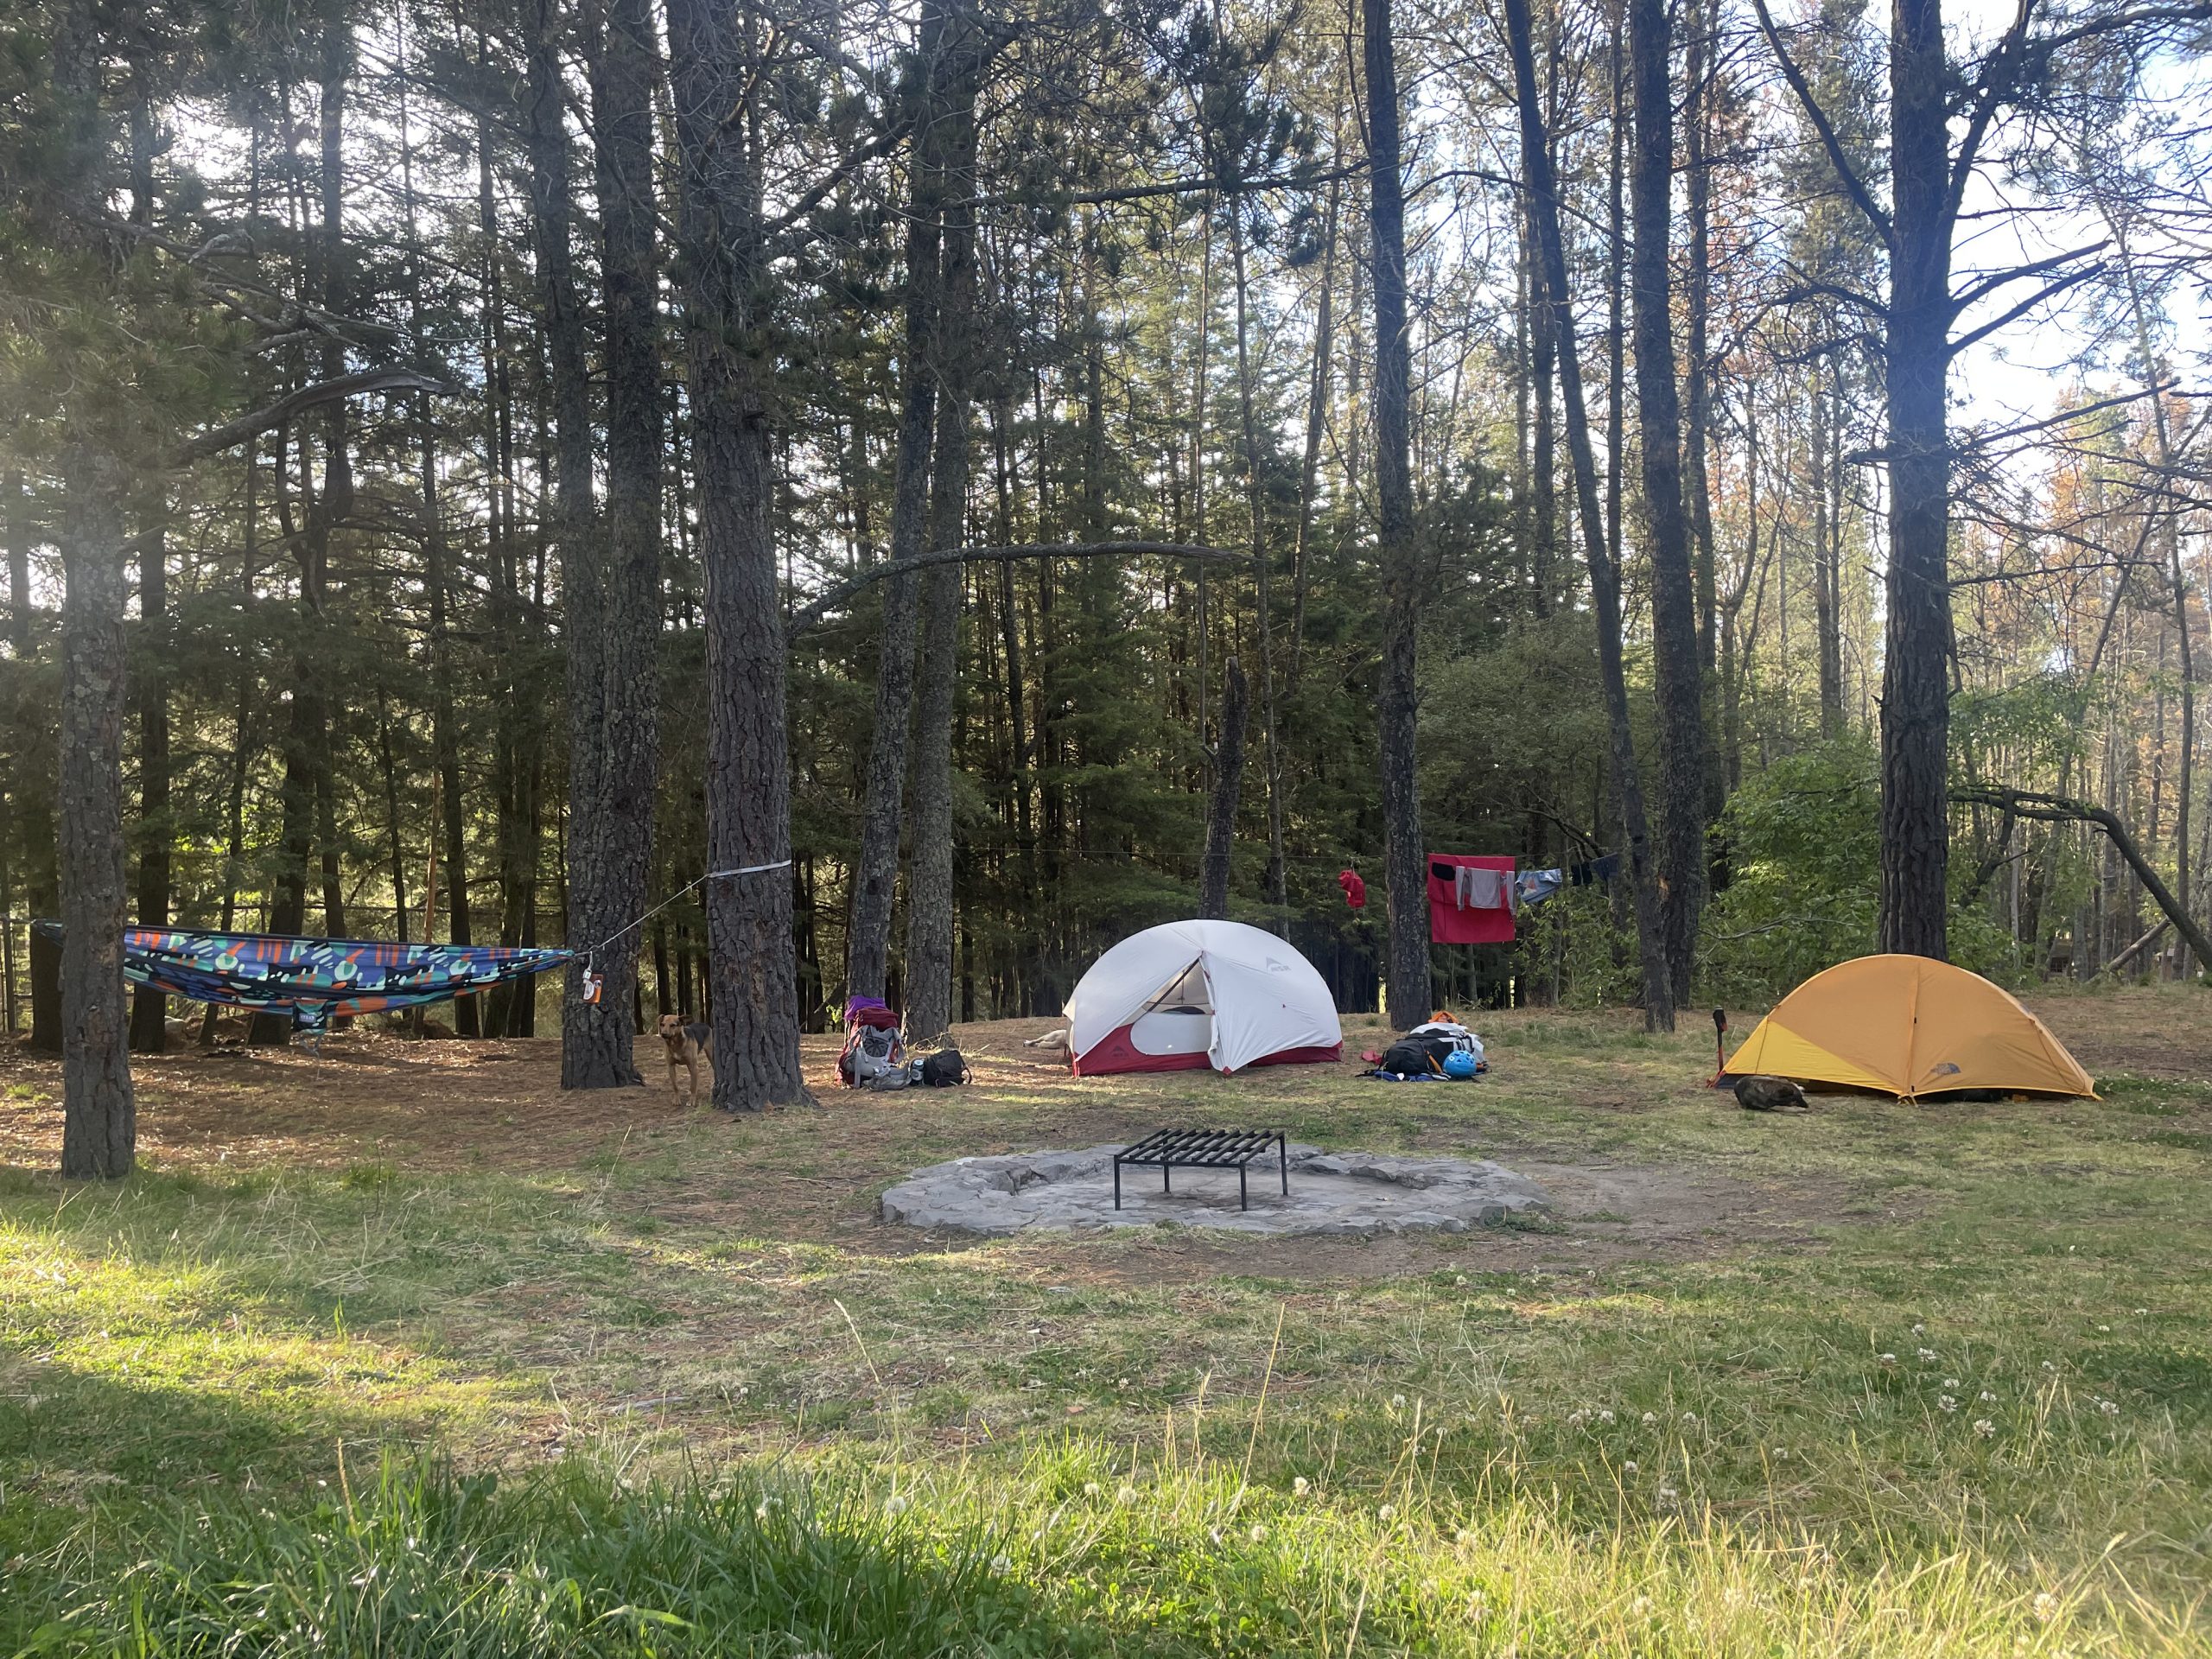
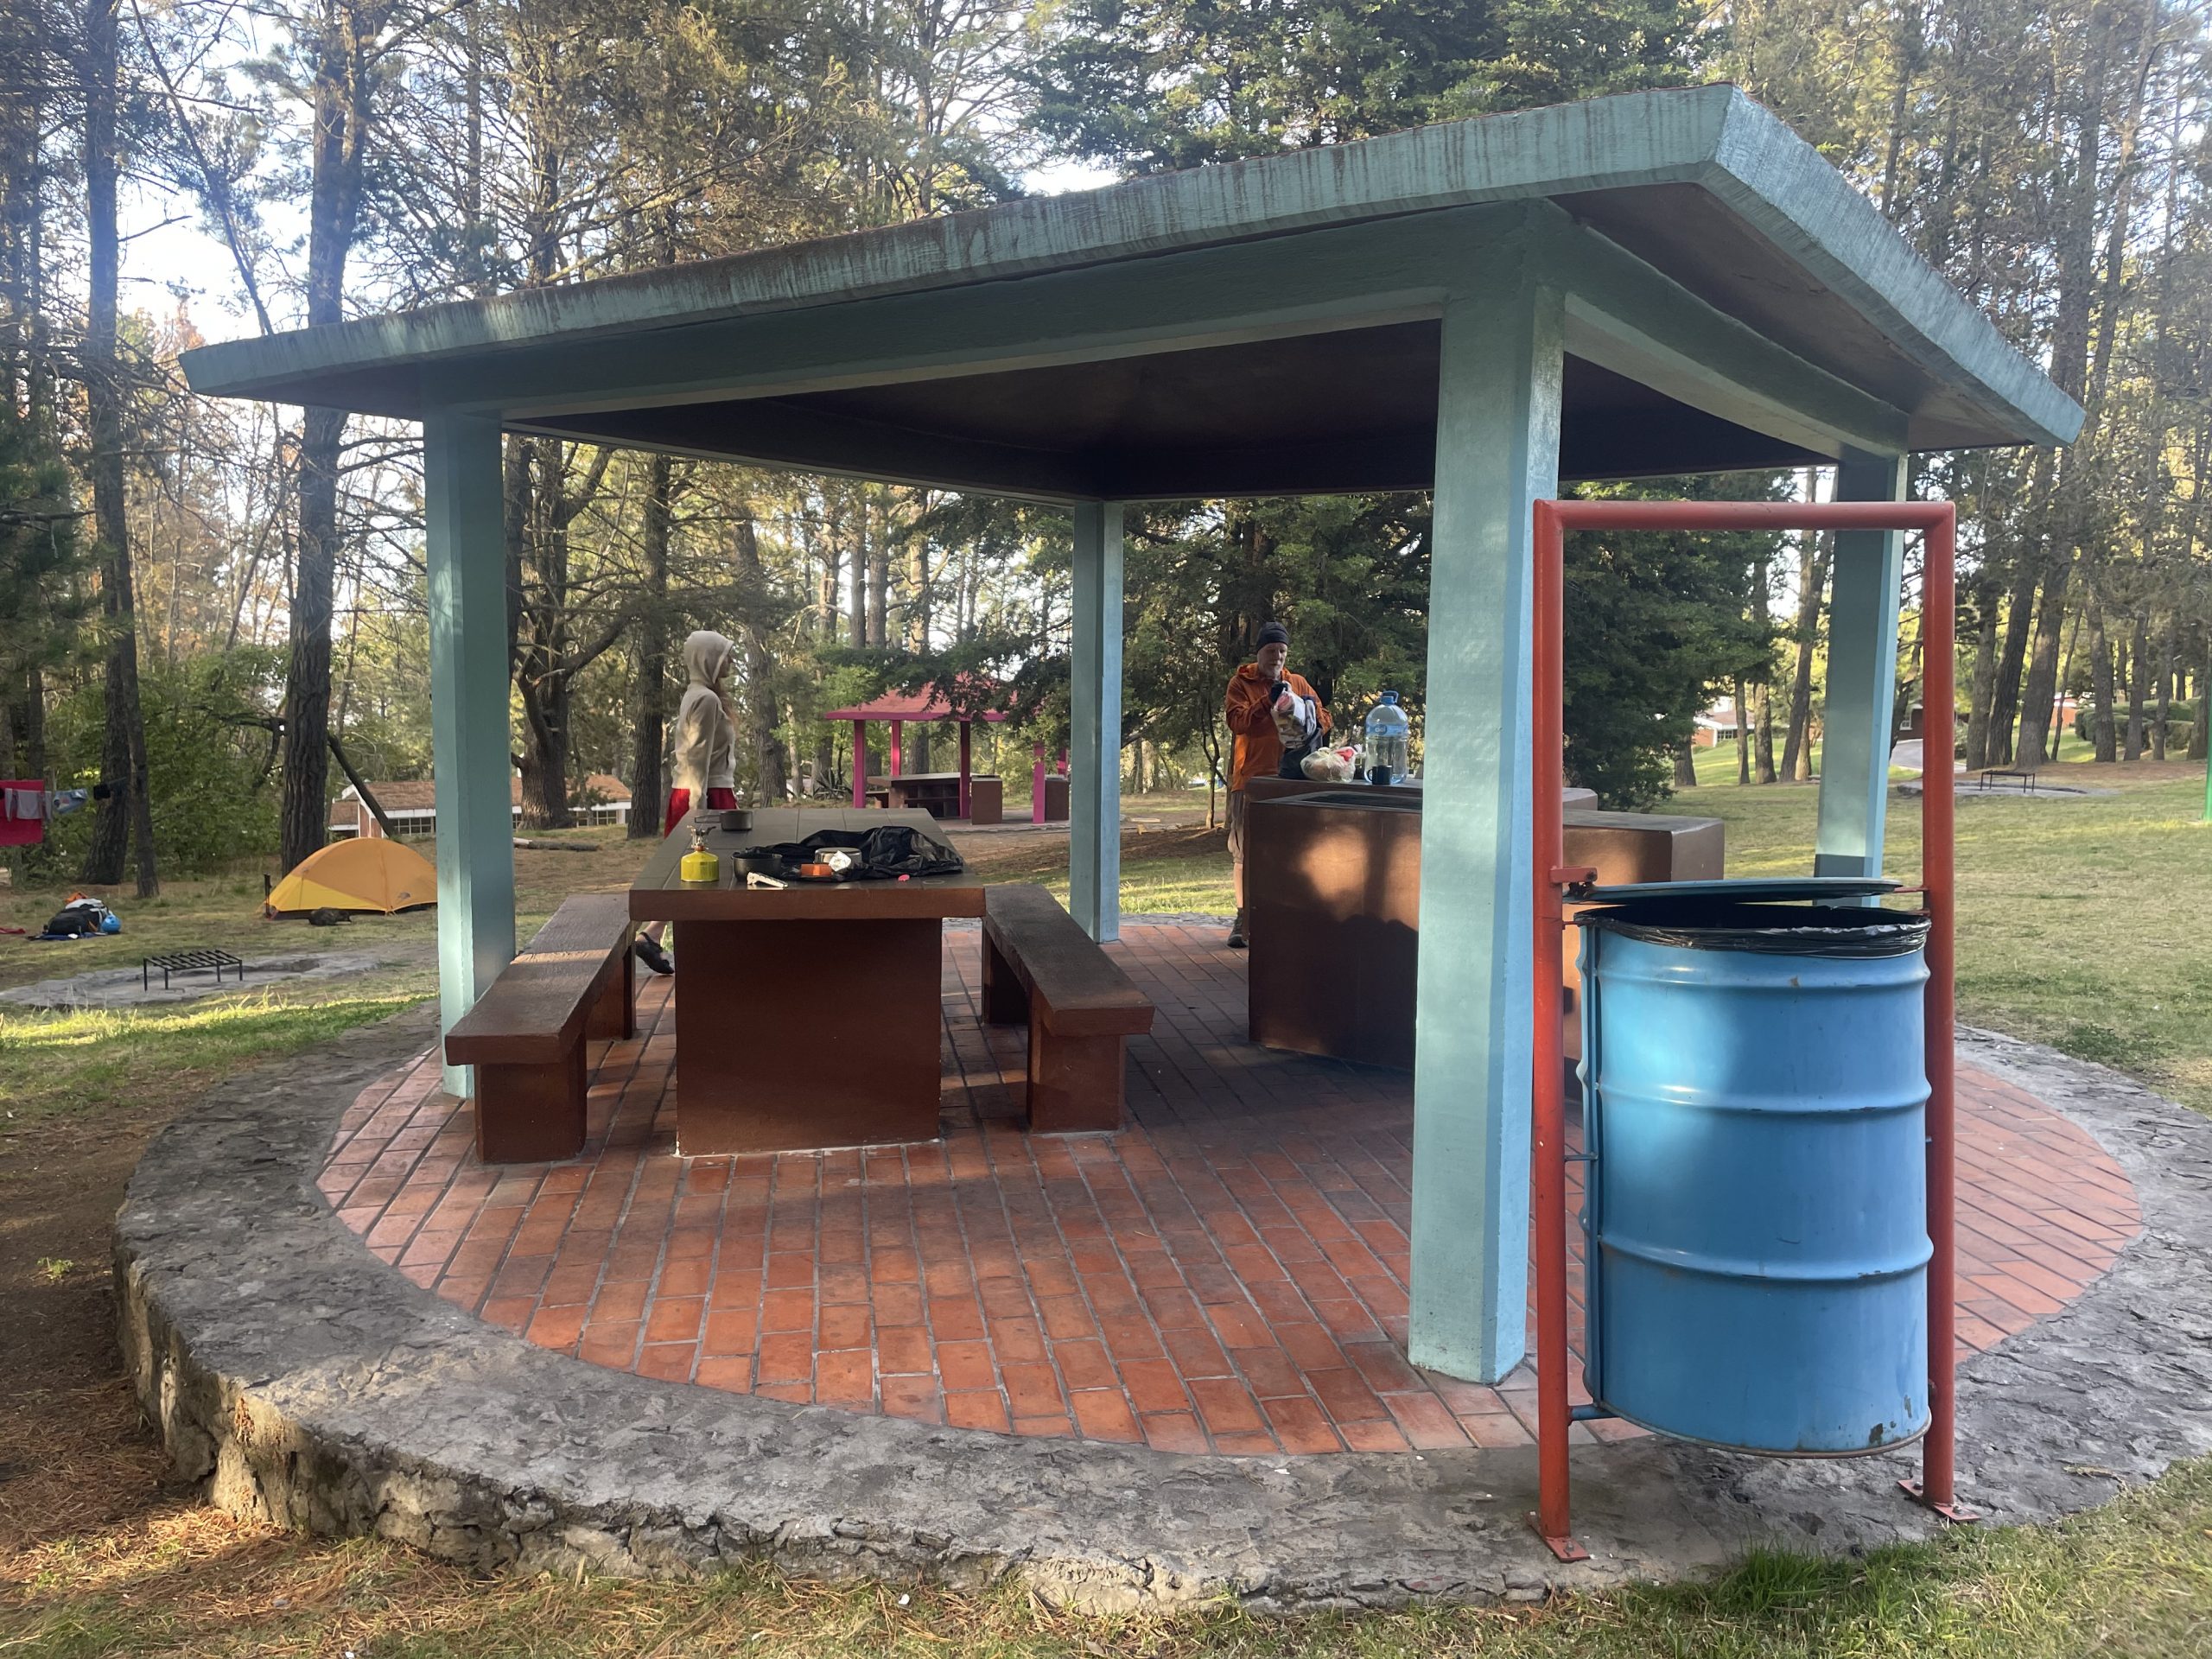
The IMSS Malintze resort provides an excellent base for hikers since it is located practically right at the trailhead. It has options for both budget and non budget travellers. As usual we opted for the budget option and pitched our tent in the campground, which cost 130 pesos per person per night. They have spots for both tents and camper vans. Alternatively, there are cabins on the property starting at 1305 pesos for a place that sleeps 6, so this would be even more worth it if you have a group. We didn’t reserve ahead of time, we just showed up. When we went in February we were one of the only ones there, and the campground has ample space so it would be hard to imagine it filling up. The campground had beautifully maintained grass, cooking areas, bathrooms (sadly without warm water), fire pits, a playground, and pretty much anything else you could need. It even has a restaurant and a small store if you need to stock up on food or water. Overall, we thought that it was an excellent value for the cost and we would recommend it.
Ok, now for the downside. For full transparency, there is one issue with the campground. Before going we had heard from online sources that there are stray dogs here that can pose a problem. I know what you’re thinking; it’s Mexico, of course there are going to be a few stray dogs. Well let us be the ones to tell you, do not underestimate the dogs at this campground. During the day, there was a gaggle of strays hanging about our campsite. No big deal, we thought. We just won’t feed them or give them attention and they’ll get bored and leave. We even became fond of one cute little guy we called limpy, for obvious reasons. Then came the night. As we were laying in our tent we could hear god knows how many strays surrounding us on all sides. One of them seemed to become territorial over our tent and started picking fights with every other dog who dared to come near. Then, for some reason they all began circling our tent like sharks around an injured swimmer. We could see their silhouettes prowling and the thin fabric of our tent did little to mute the snarling and growling occurring right by our heads. We couldn’t help but wonder if they’d get carried away and roll right onto our tent in the midst of a heated battle. One dog would start barking, and the whole valley would respond with a resounding chorus of howls. At one point, it sounded as if all the dogs ganged up on one unfortunate stray, and it did not sound good. Let’s just say that we saw no sight or sound of limpy again.
Anyways, don’t let this dramatic retelling deter you from staying at the campground. None of the dogs were actually aggressive towards us and in hindsight it was really quite hilarious. Just know that you might not get the most peaceful sleep of your night here, and maybe try to scare off all the dogs during the day to avoid the shitshow at night.
Another option is to camp along the trail. As you ascend, you will see a few spots just off the path in the forest and near the treeline that provide flat enough areas where you could pitch a tent. There are no facilities here, but if you have all the gear required for backcountry camping it could be a good option (please just remember to pack out all your trash). This would allow for even better acclimatisation, and it is free and does not require any extra permits. Of course, the downside to this option is the struggle of carrying all that extra weight up the mountain with you. Whether that is worthwhile or not is up to you.
La Malinche is best climbed during the dry season around November to March. Though it can be colder during this time, this is your best shot to ascend without dealing with precipitation. If there is snow on the summit this hike becomes more challenging and dangerous, and requires more knowledge and gear. In regular conditions and at a moderate pace, the hike takes around 6-8 hours there and back. The park gates open at 7am, and it is a good idea to start your hike soon after this to make sure you have plenty of time to get back before dark.
The trail up La Malinche is very clearly marked, especially in the beginning forested sections since this is also a popular trail with locals coming to picnic part way up and enjoy the views. Once the trail leaves the tree line it requires a bit more effort to follow, but it is still pretty straightforward the whole way up. Even though the trail diverges slightly in some spots, all paths lead to the summit.
The majority of this trail can be classified as a hike, with some class 2 scrambling near the top. As described in the route description section, there is one short section of scrambling with a bit more exposure right below the summit that could be described as class 3. All in all, this hike is very doable without a guide if you have previous experience hiking in the mountains. If you don’t have much hiking experience, this peak is still achievable if you hire a guide. Guided trips to La Malinche can be easily found online and are a great option for those that feel uncomfortable with a solo hike.
Though La Malinche is not a very technical scramble, it should not be underestimated! From trailhead to summit there is 1278m of elevation gain. This, coupled with the fact that the entire hike is above 3000m, makes for a very demanding day. The summit elevation of 4461m is high enough to cause symptoms of altitude sickness, so it is imperative to take some time to acclimatize before attempting this hike whether that be camping near the summit or attempting smaller hikes before. If you are properly acclimated this hike will be less demanding and you are much more likely to make it to the top (and back down) safely.
We hope this post answered some of your questions about hiking La Malinche without a guide!
Recent Posts